Case study 01 · Physical + digital · 2025–2026
Sphero Blueprint Robotics
One experience from hardware to screen: the robot and controller displays, a printed Quick Start Guide, the Blueprint Studio web app and its resource pages — for a modular, classroom-ready robotics platform.
- Role
- Lead UX/UI Designer
- Timeline
- 09/2025 – 06/2026
- Team
- Robot UI: Firmware + PM · Web app: Software + PM
- Scope
- Robot UI · Controller screen · Web app · Design system · Iconography · Quick Start Guide
01 — Overview
A fast track from unboxing to a working, competing robot.
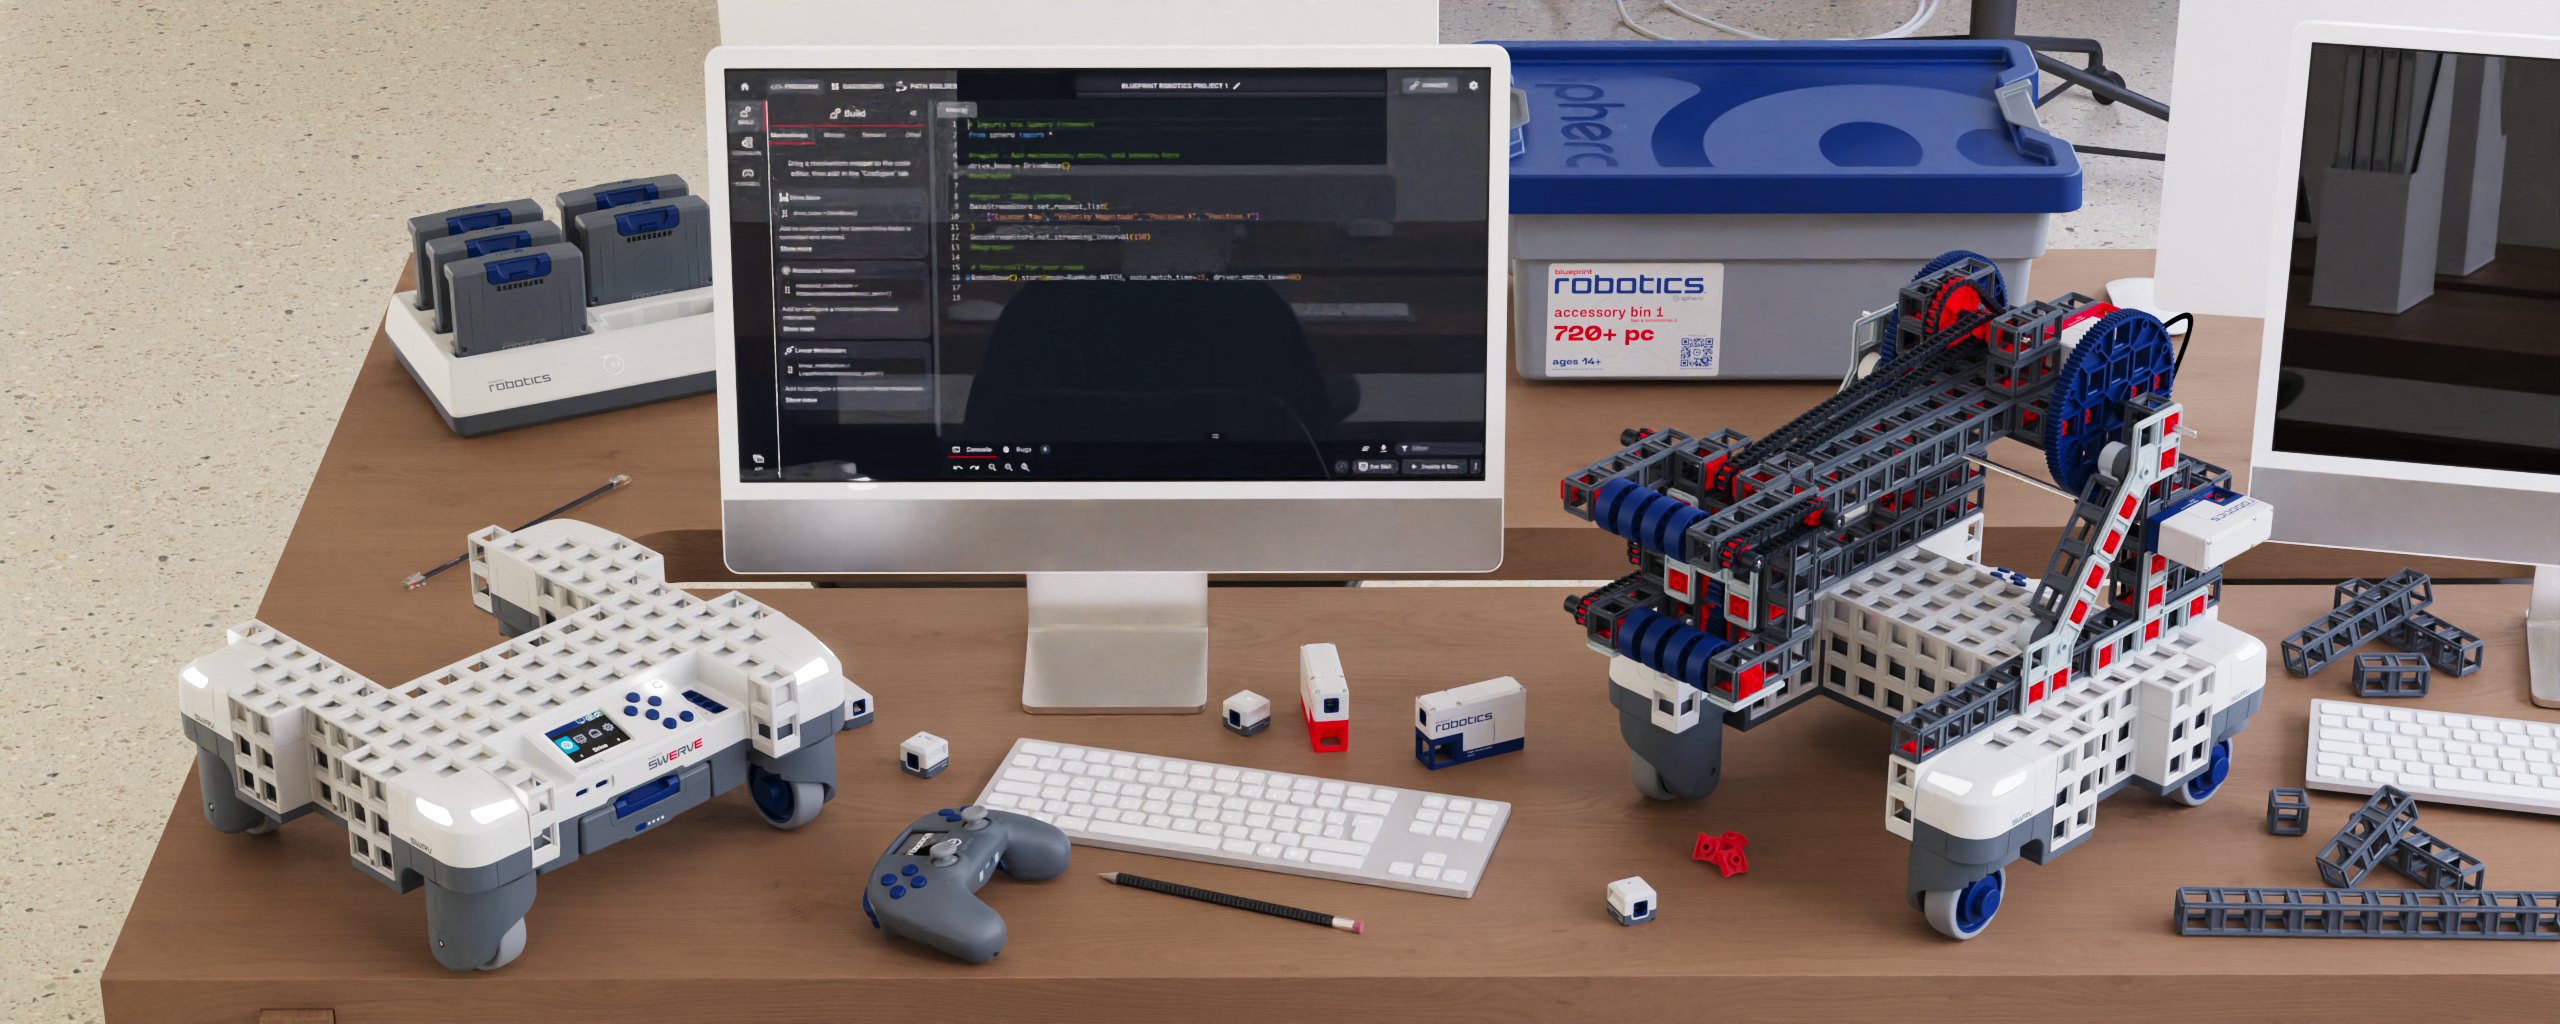
Blueprint Robotics is Sphero’s modular robotics ecosystem for classrooms. Students start with a Swerve Drive Robot and a controller, then add snap-together parts, motors and sensors to build their own mechanisms — no cutting, bolts or fabrication lab required.
Blueprint Studio, the web-based companion, lets students configure mechanisms, read real-time sensor data and program in Python, moving from drag-and-drop snippets to custom code.
I led UX/UI across every touchpoint. With the firmware team and PM, I designed every screen on the Swerve Drive Unit and its controller, plus the printed Quick Start Guide; with the software team and PM, I defined the design system, iconography and prototypes for Blueprint Studio; and I updated the Blueprint Robotics pages on Sphero Central where teachers find lessons and resources.
One experience, physical to digital
01
Unbox
Quick Start Guide
02
Power on
Robot screen
03
Drive
Controller screen
04
Learn
Sphero Central
05
Code
Blueprint Studio
02 — The challenge
Sphero’s first controller with a screen — and two ways to drive.
Blueprint was the first Sphero product with a dedicated screen controller, so there were no existing patterns to build on. The Swerve Drive Unit also offers two drive modes: Field Centric, the traditional Sphero way of driving, and Robot Centric, an RC-car style. The challenge was making both modes — and switching between them — clear rather than confusing, on two very small screens.
01
Make drive mode unmistakable
Students always know whether they’re in Field Centric or Robot Centric, and how to switch.
02
Clarity on tiny screens
Status, errors and modes that read instantly at 320×240 on the robot and 160×128 on the controller.
03
A familiar bridge to code
A web app that feels like Sphero Edu and eases students from drag-and-drop into Python.
03 — Robot UI
Swerve Drive Unit & controller screens
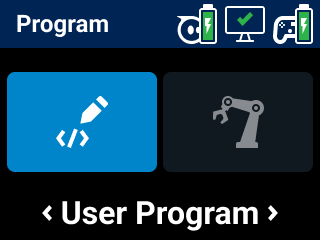
Robot UI was the core of my work on Blueprint. Partnering with the firmware team and PM, I designed every screen on the Swerve Drive Unit and its controller — the first thing students see when they power on.
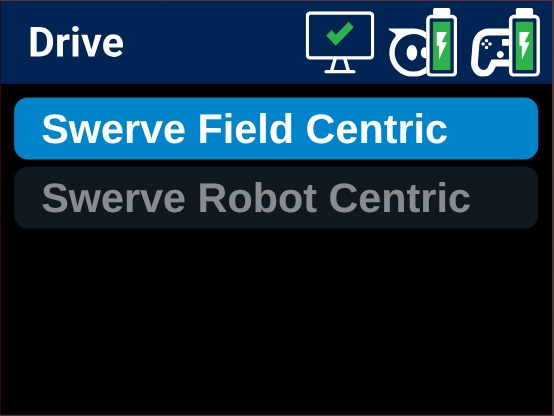
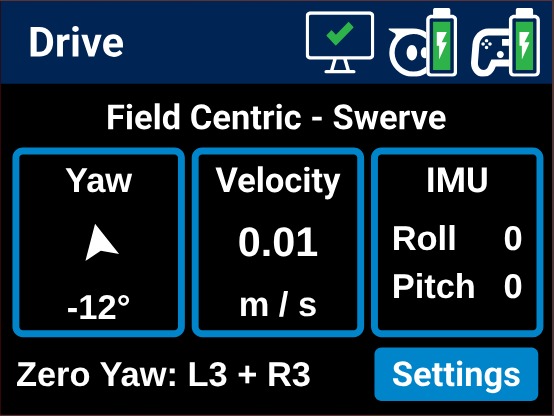
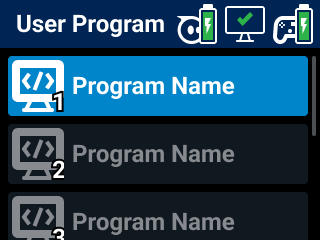
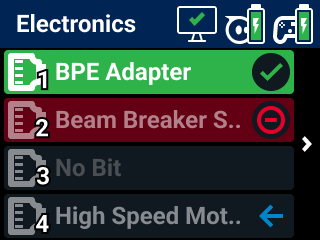
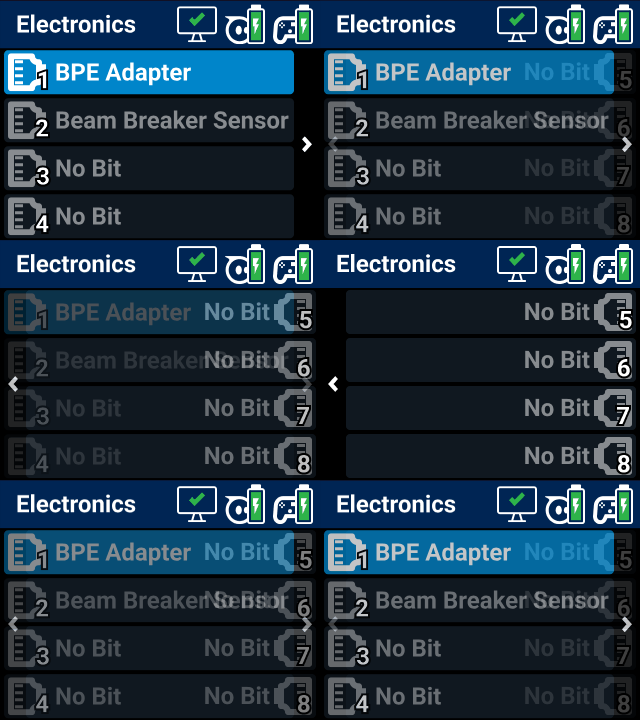
The robot screen is 320×240 px; the controller screen is just 160×128 px. Across both, I designed the full flow — the main menu, Field Centric and Robot Centric drive with live readouts, user programs and Rapid Robots, the electronics port check, pairing by Bluetooth or USB, Swerve settings and controller calibration — and drew 72+ custom icons built to stay legible at that scale.
Robot screen
320 × 240 px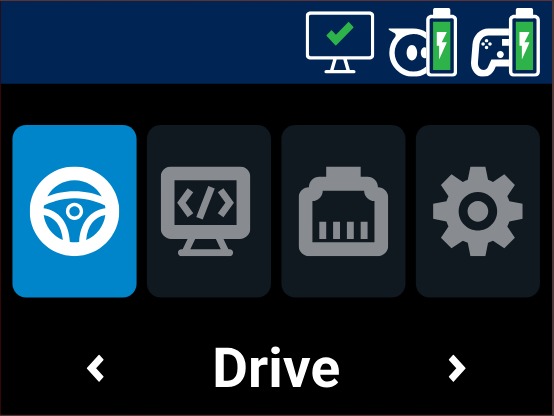
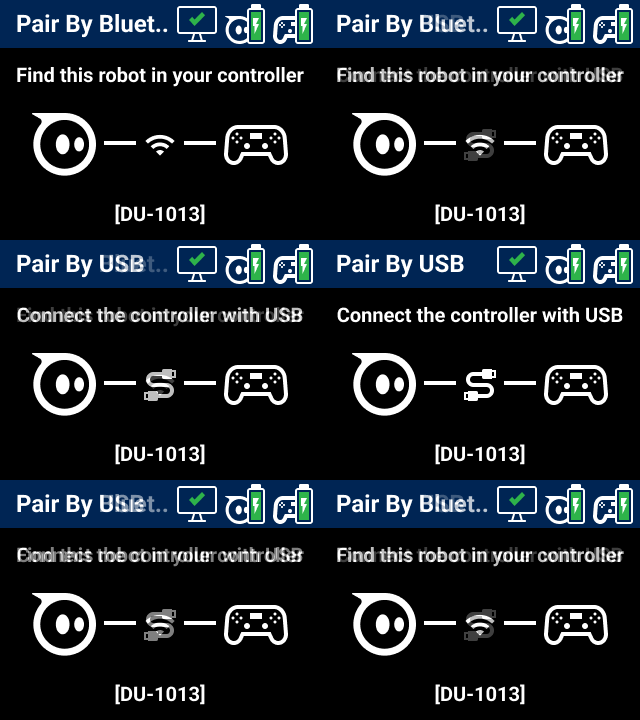
Interactive prototype
Swerve Drive Unit · 320 × 240 px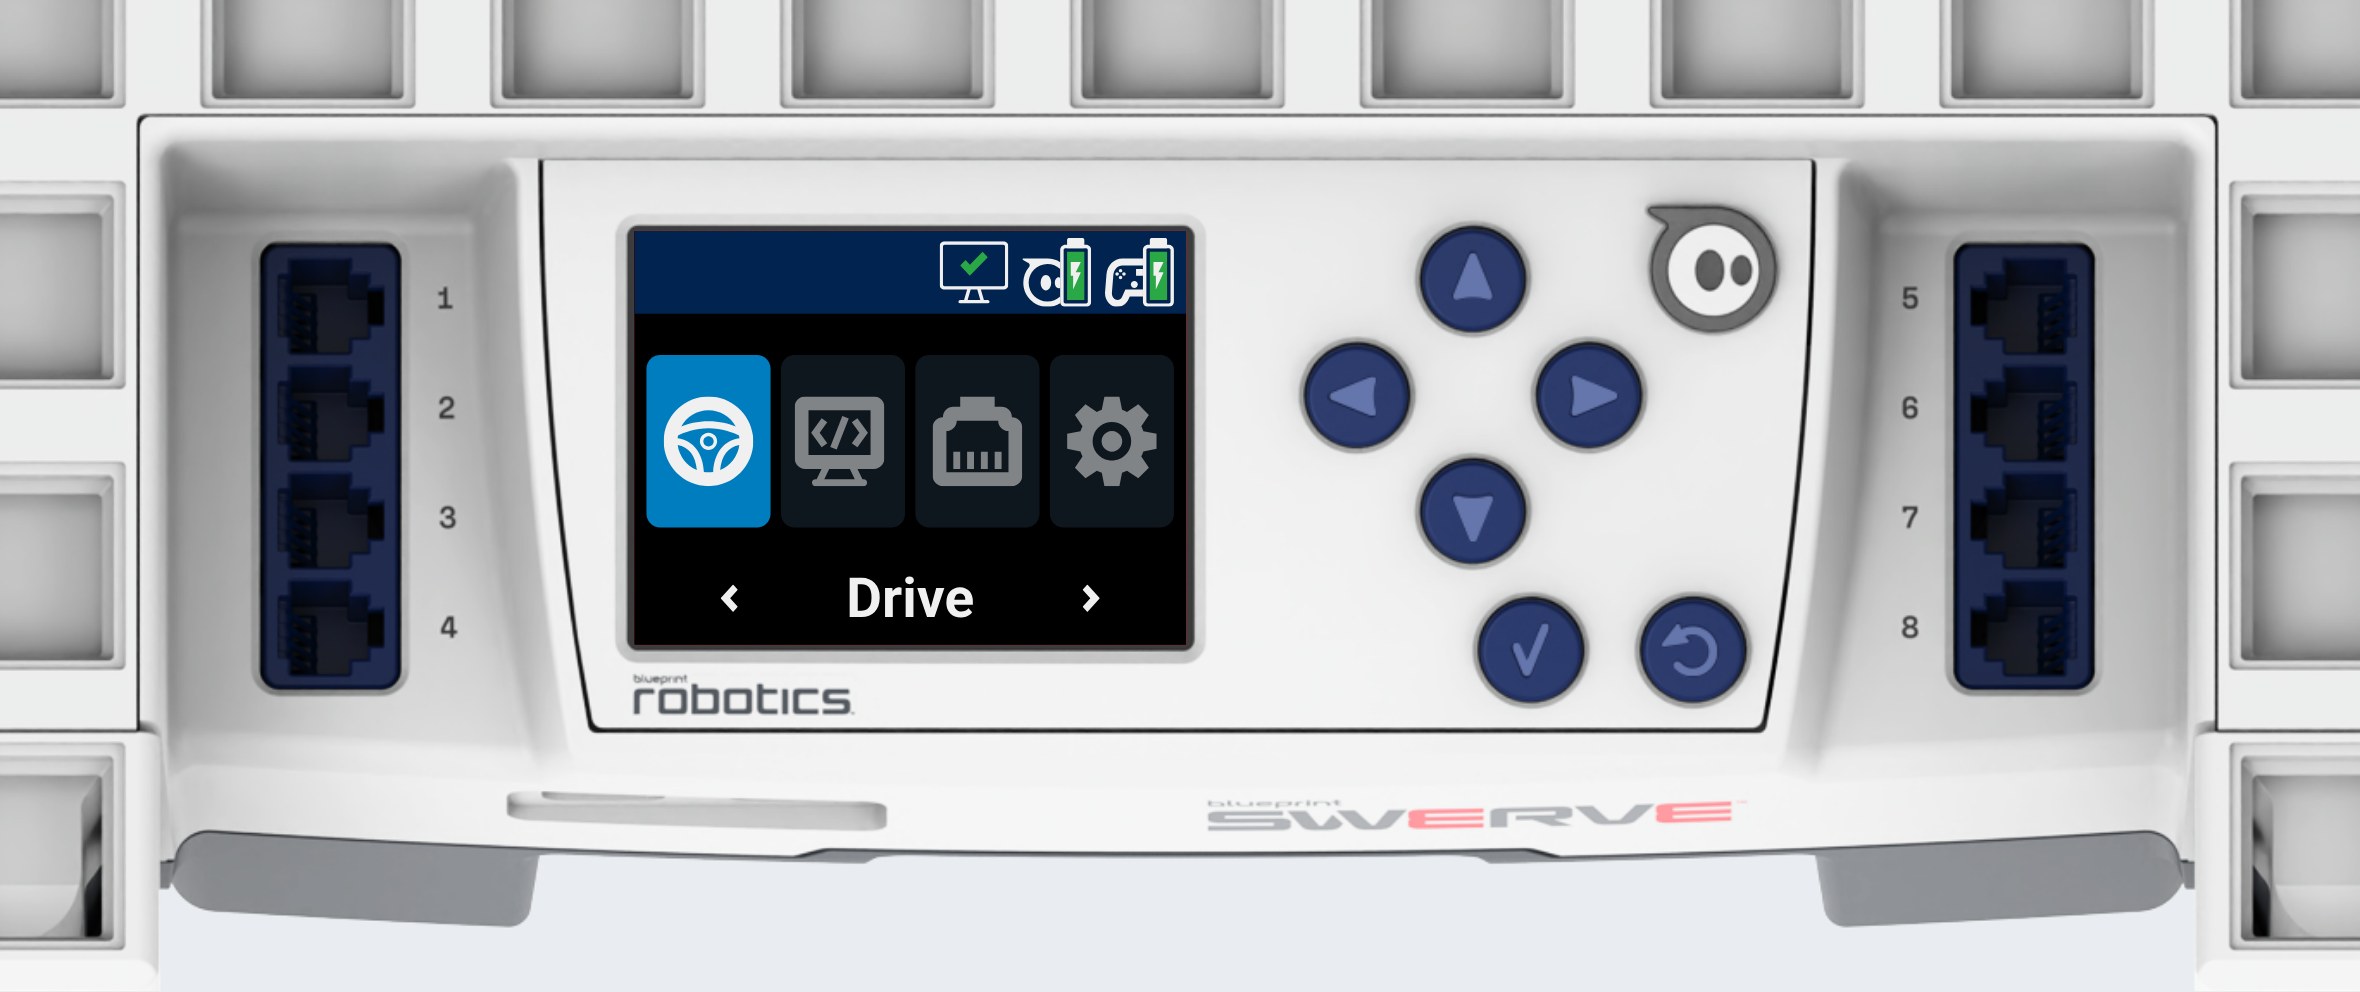
A working prototype of the Swerve Drive Unit’s screen, driven by its own buttons: the arrows move the highlight, ✓ opens and ↺ goes back. It covers the main menu, drive modes, programs and Rapid Robots, electronics and settings.
Try the interactive prototypeController screen
160 × 128 px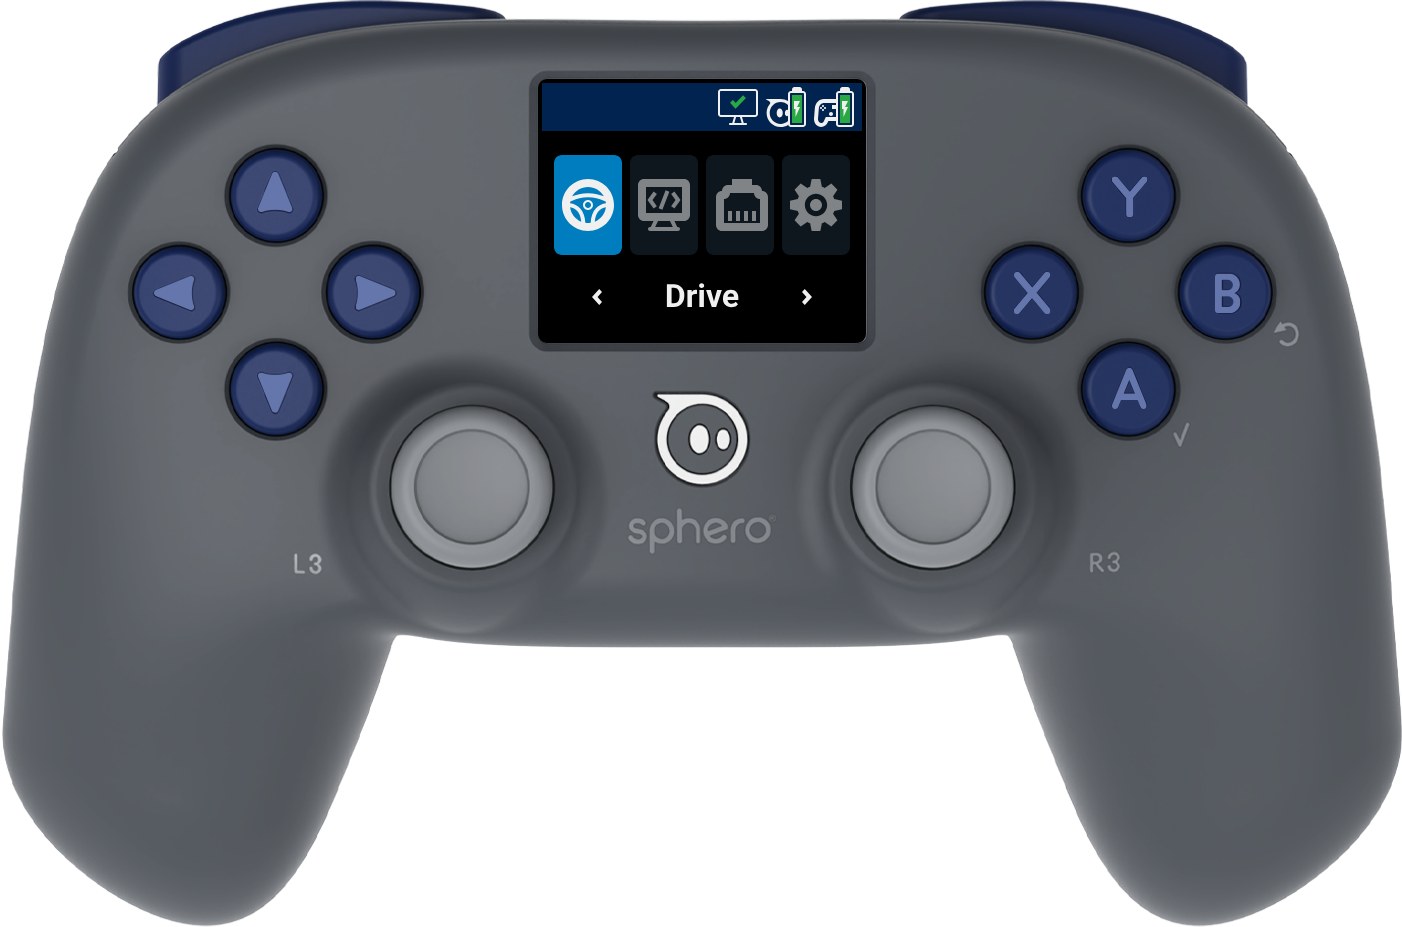
A working prototype of the controller’s screen, driven by its own buttons: the D-pad moves the highlight, A (✓) opens and B (↺) goes back. It covers drive modes and Swerve settings, programs and Rapid Robots, electronics, pairing by USB or Bluetooth, and joystick and trigger calibration.
Try the controller prototypeOut of the box: the Quick Start Guide
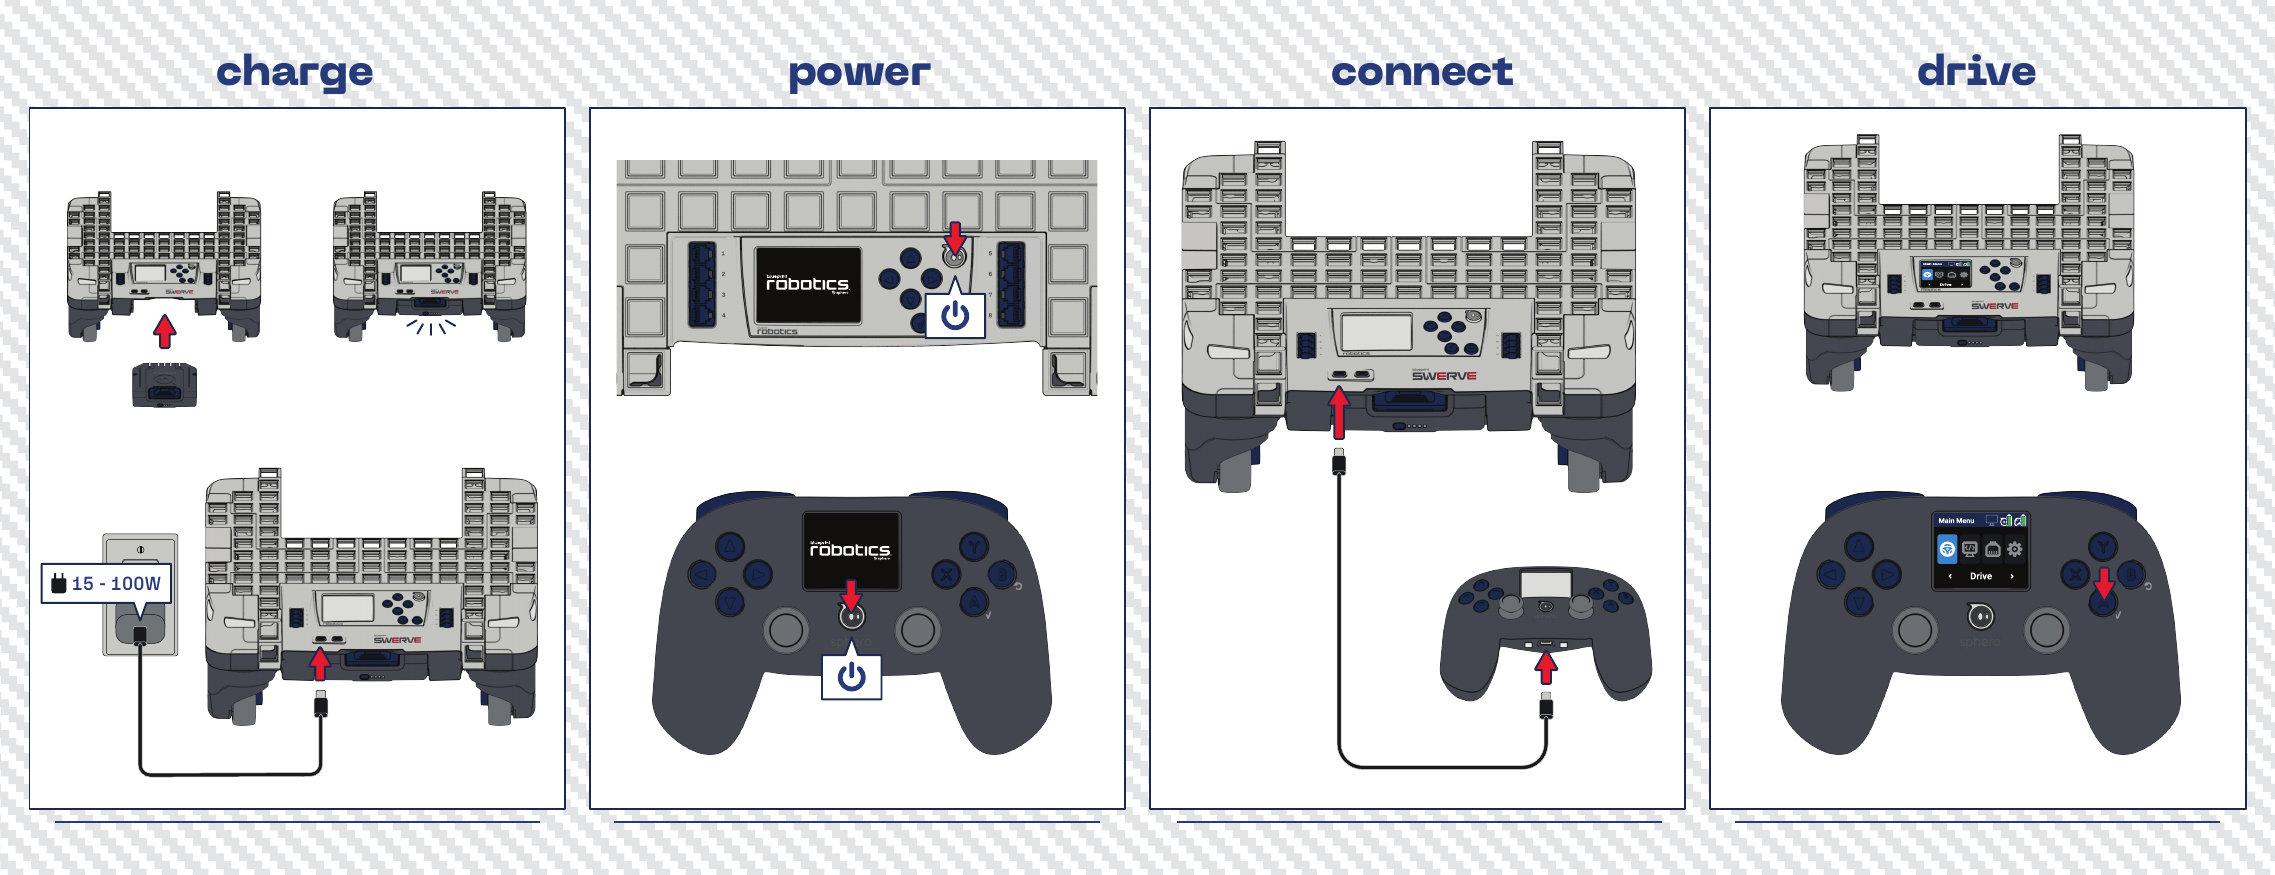
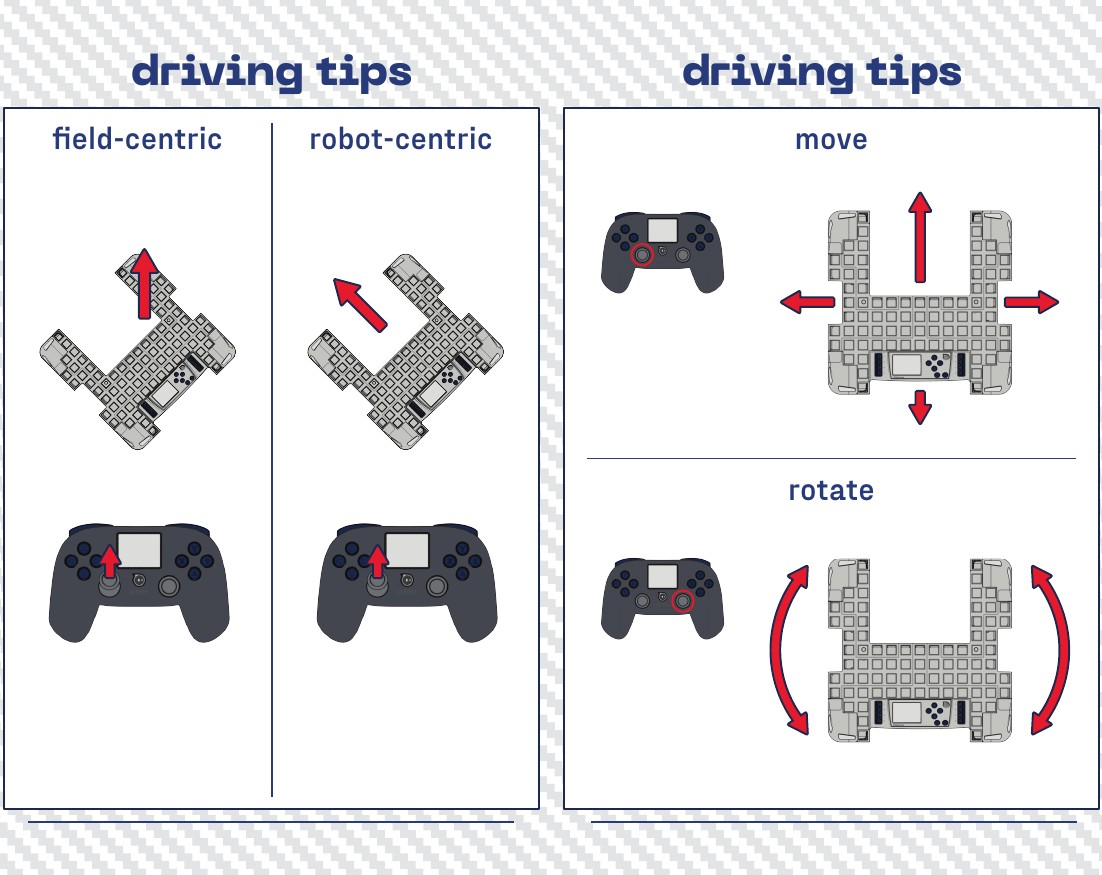
To make the two drive modes clear before students even open a menu, I designed a printed Quick Start Guide with the PM that ships in the box with every Swerve drive unit.
Four panels take students from unboxing to driving: charge, power, connect, drive. The driving tips spread puts field-centric and robot-centric side by side — the same stick push, two different robot movements — so the difference reads in one glance. A second panel covers move and rotate, and the back points to lessons at sphero.cc/BPR and to Blueprint Studio.
04 — Blueprint Studio
Building on what already worked
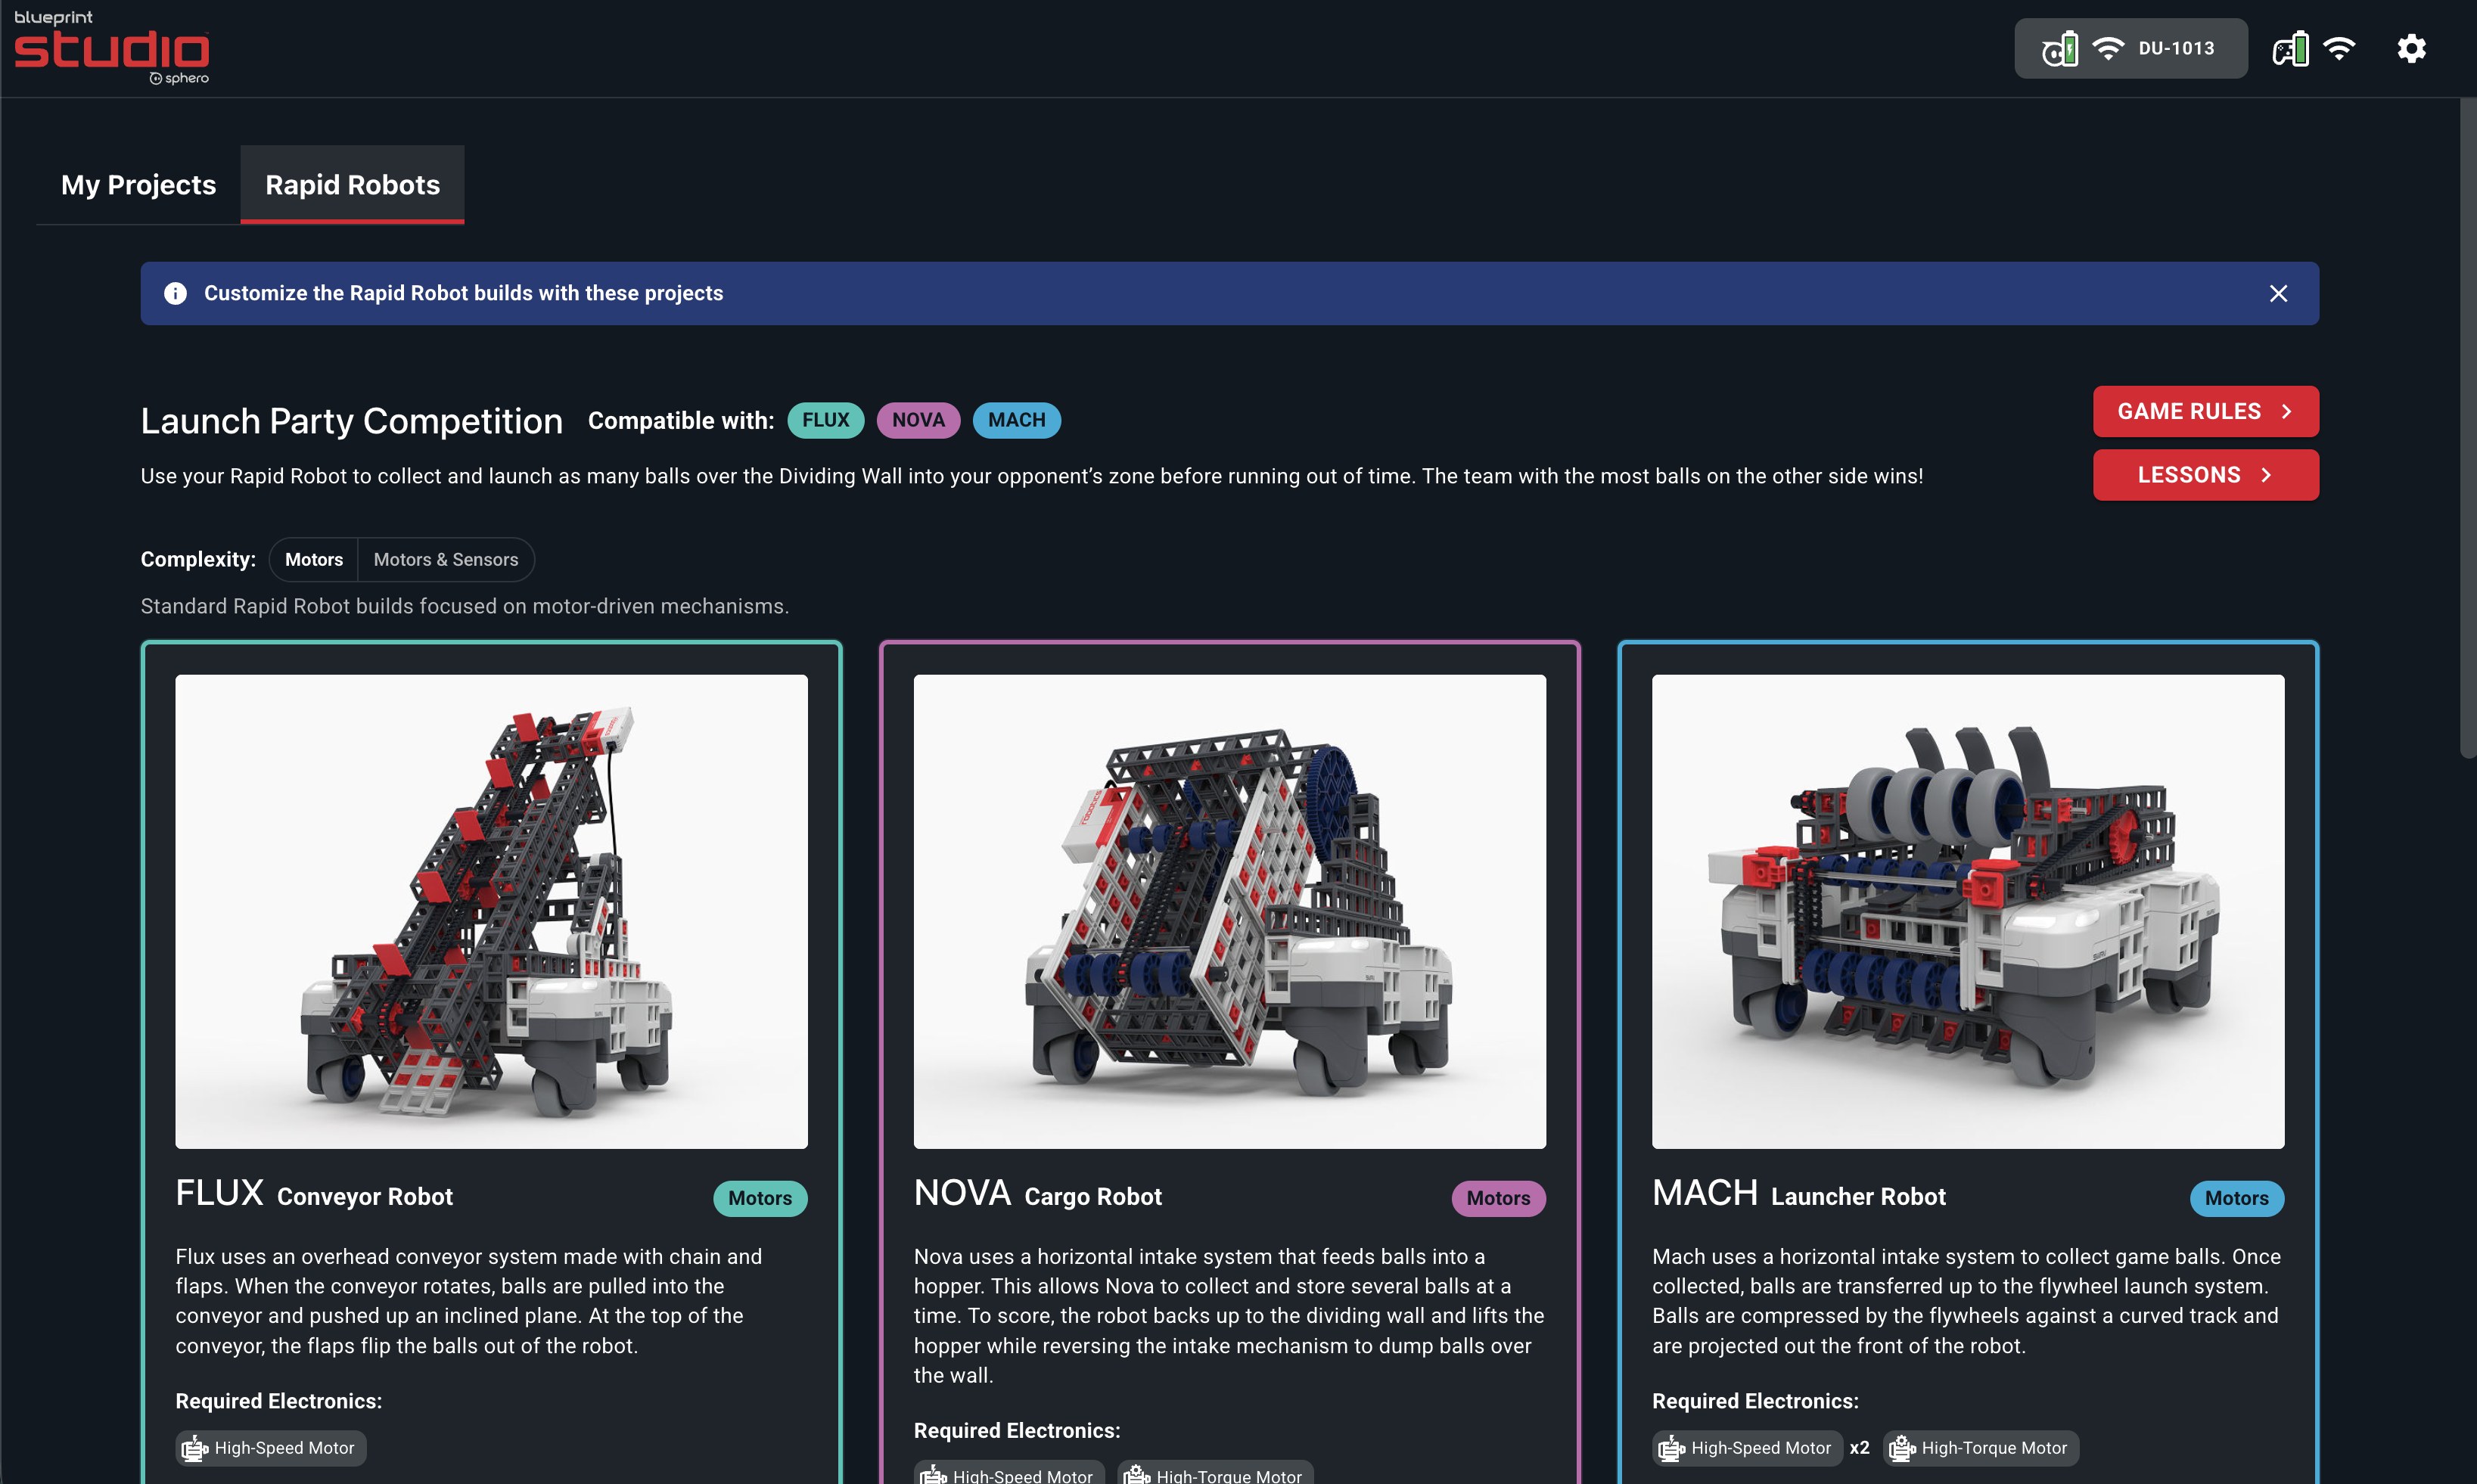
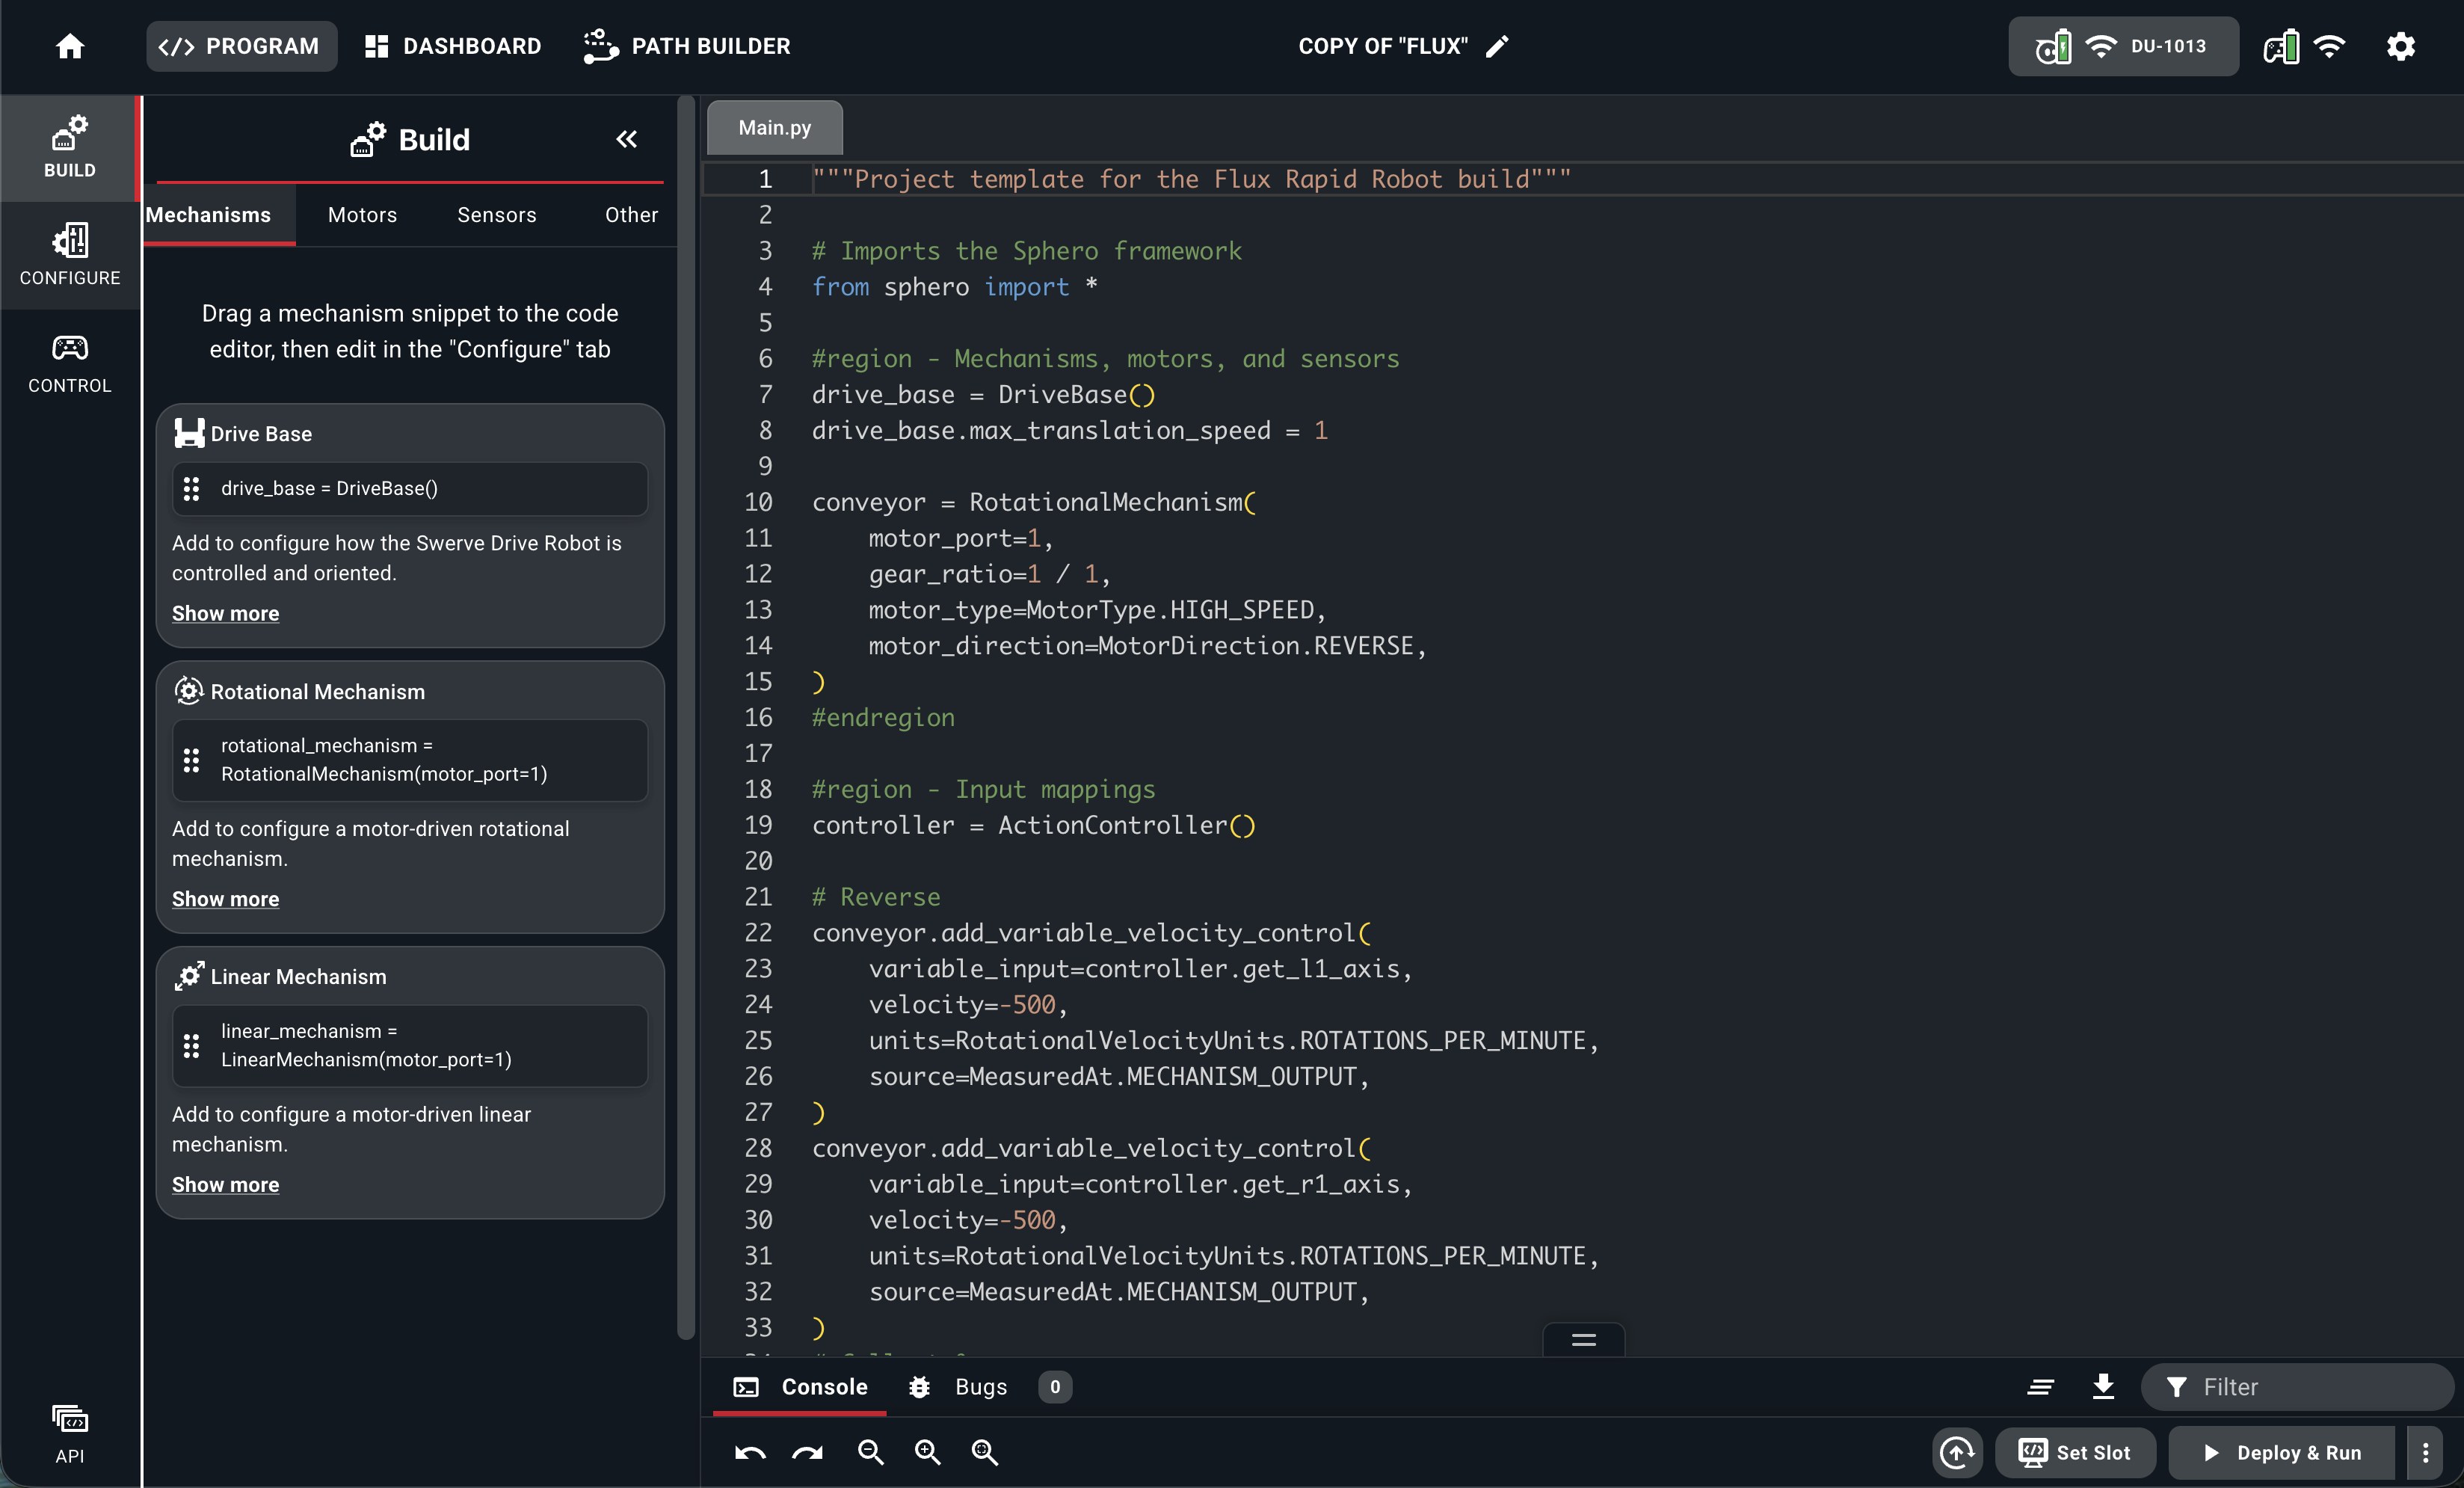
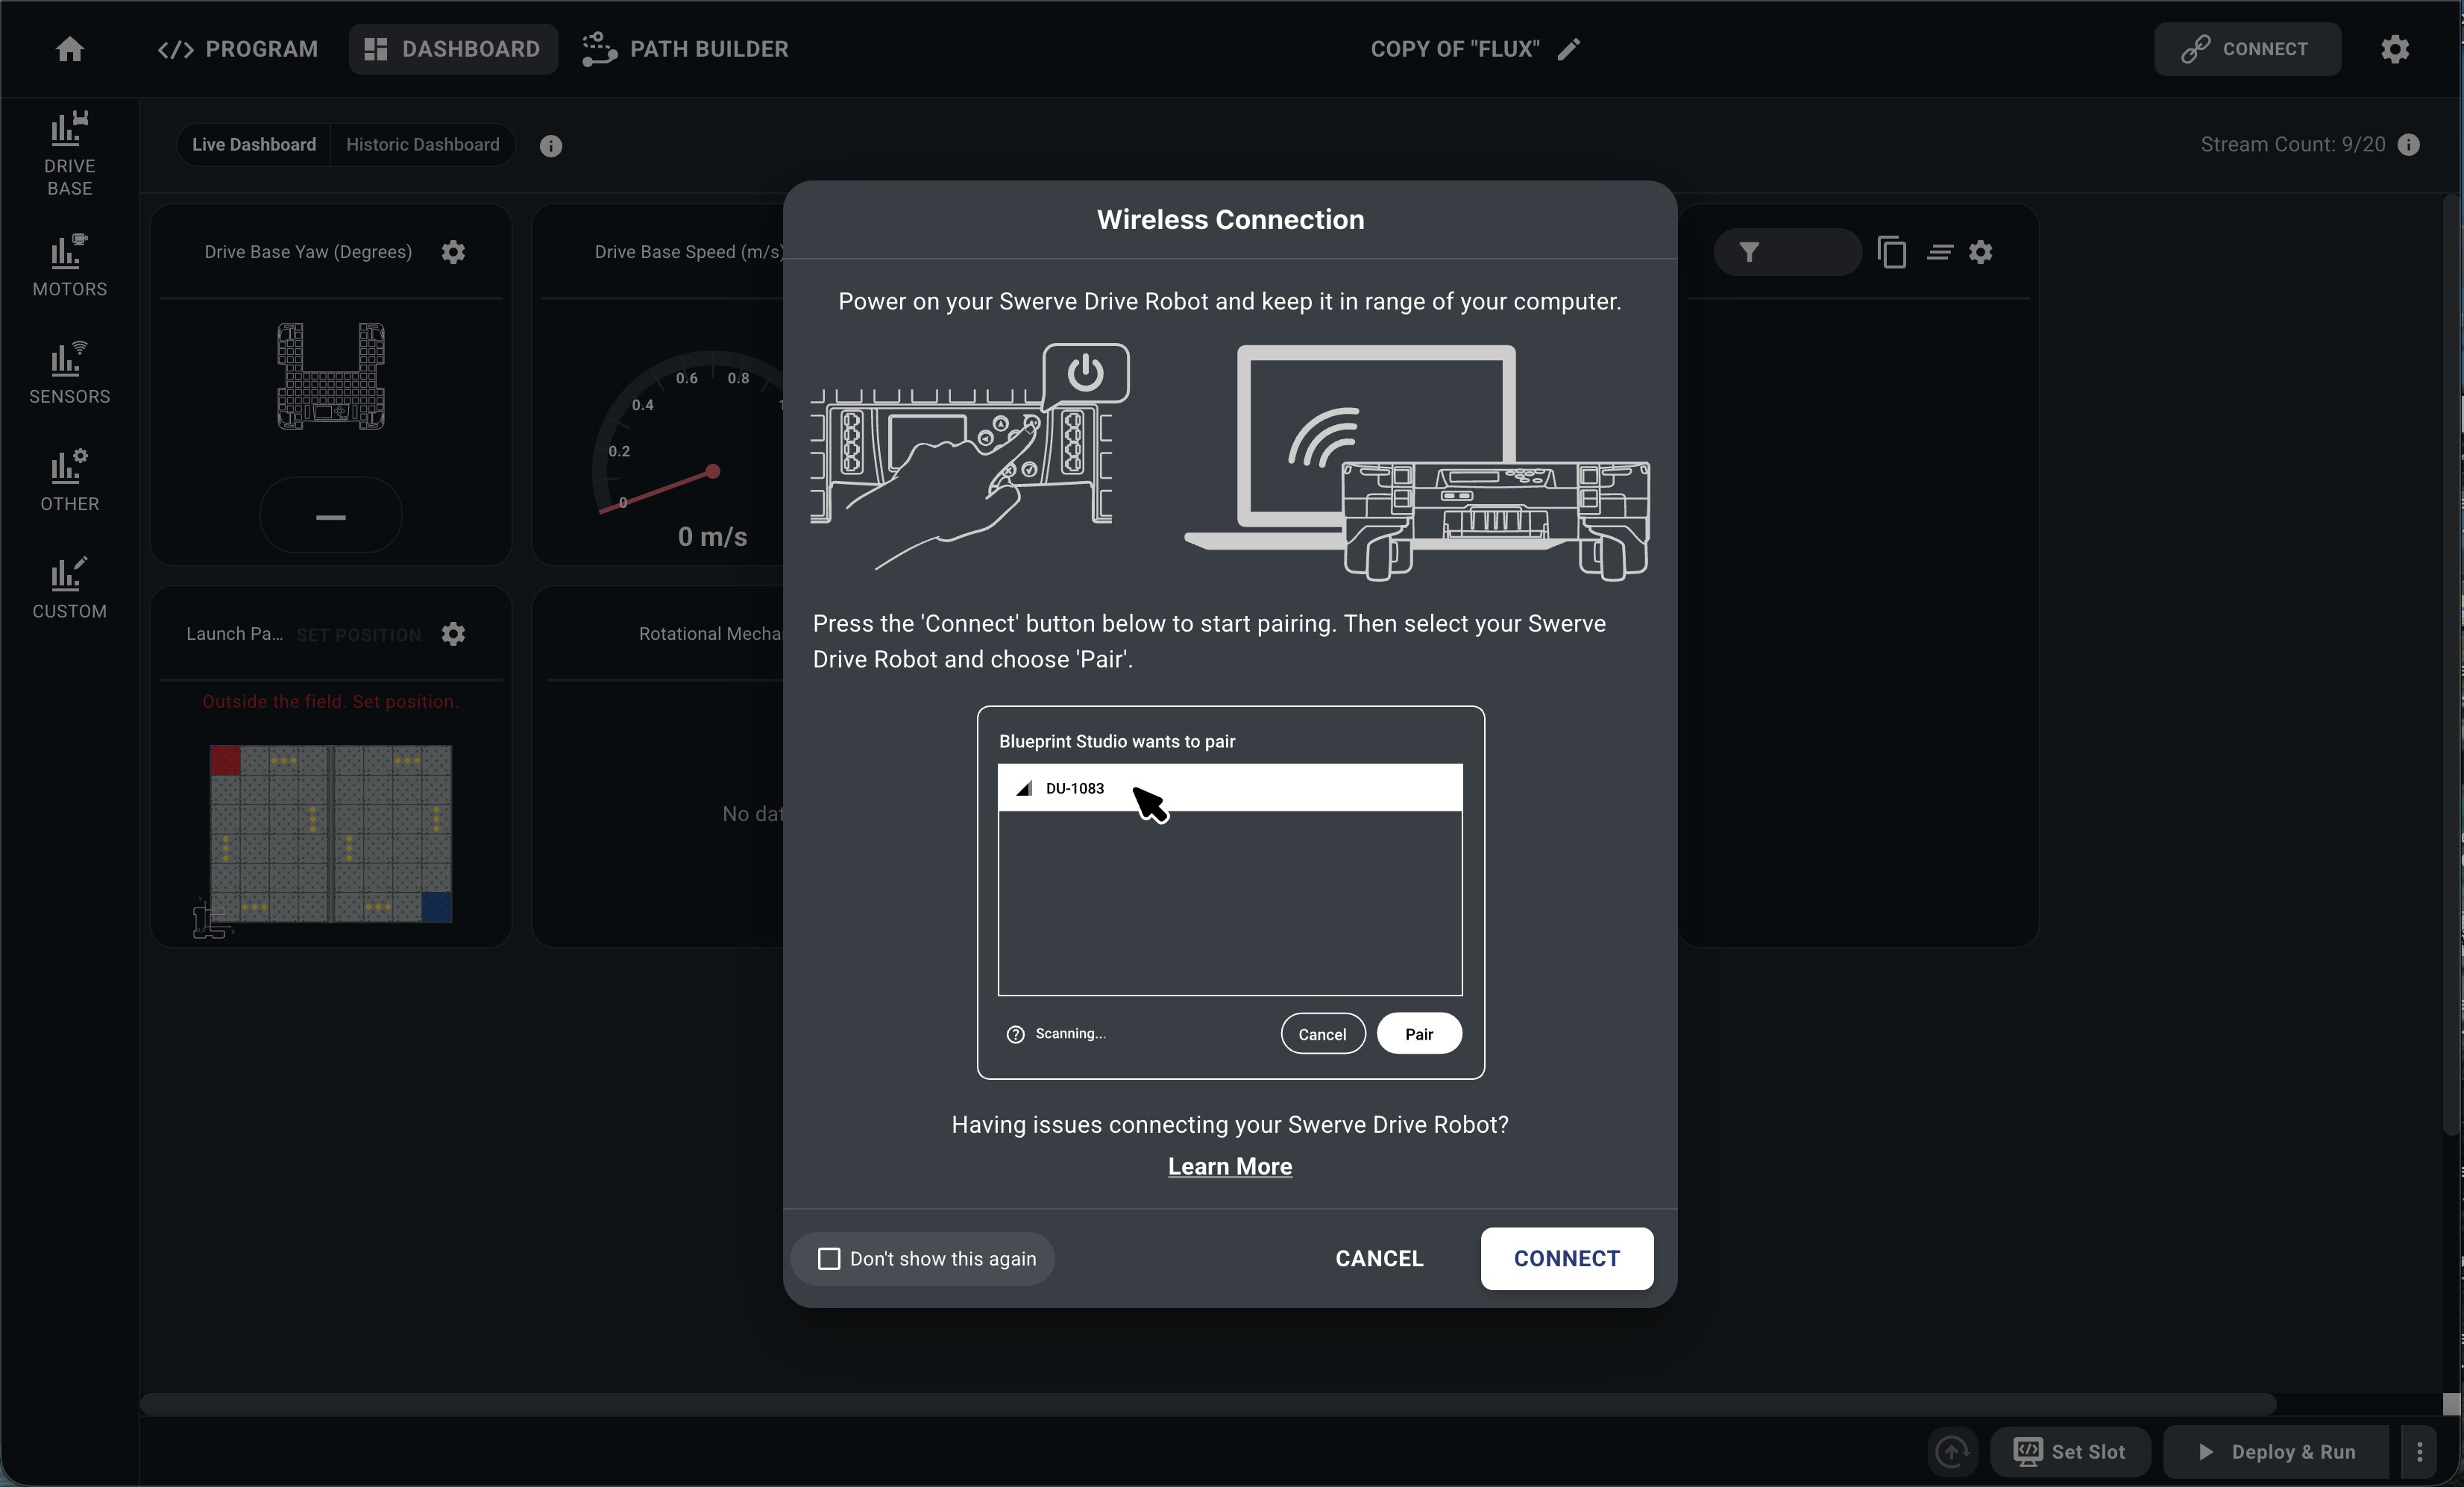
Blueprint Studio is the web app where students configure mechanisms, read live sensor data and program the robot in Python. Rather than reinvent it, we built on the Sphero Edu web app’s existing UI and conventional code-editor patterns, so teachers and students feel at home right away.
My focus was what’s unique to Blueprint: adapting the design system, keeping drag-and-drop snippets as a bridge to custom Python, and drawing 37+ custom icons for Blueprint parts and actions alongside Google’s icon set.
Visit Blueprint Studio →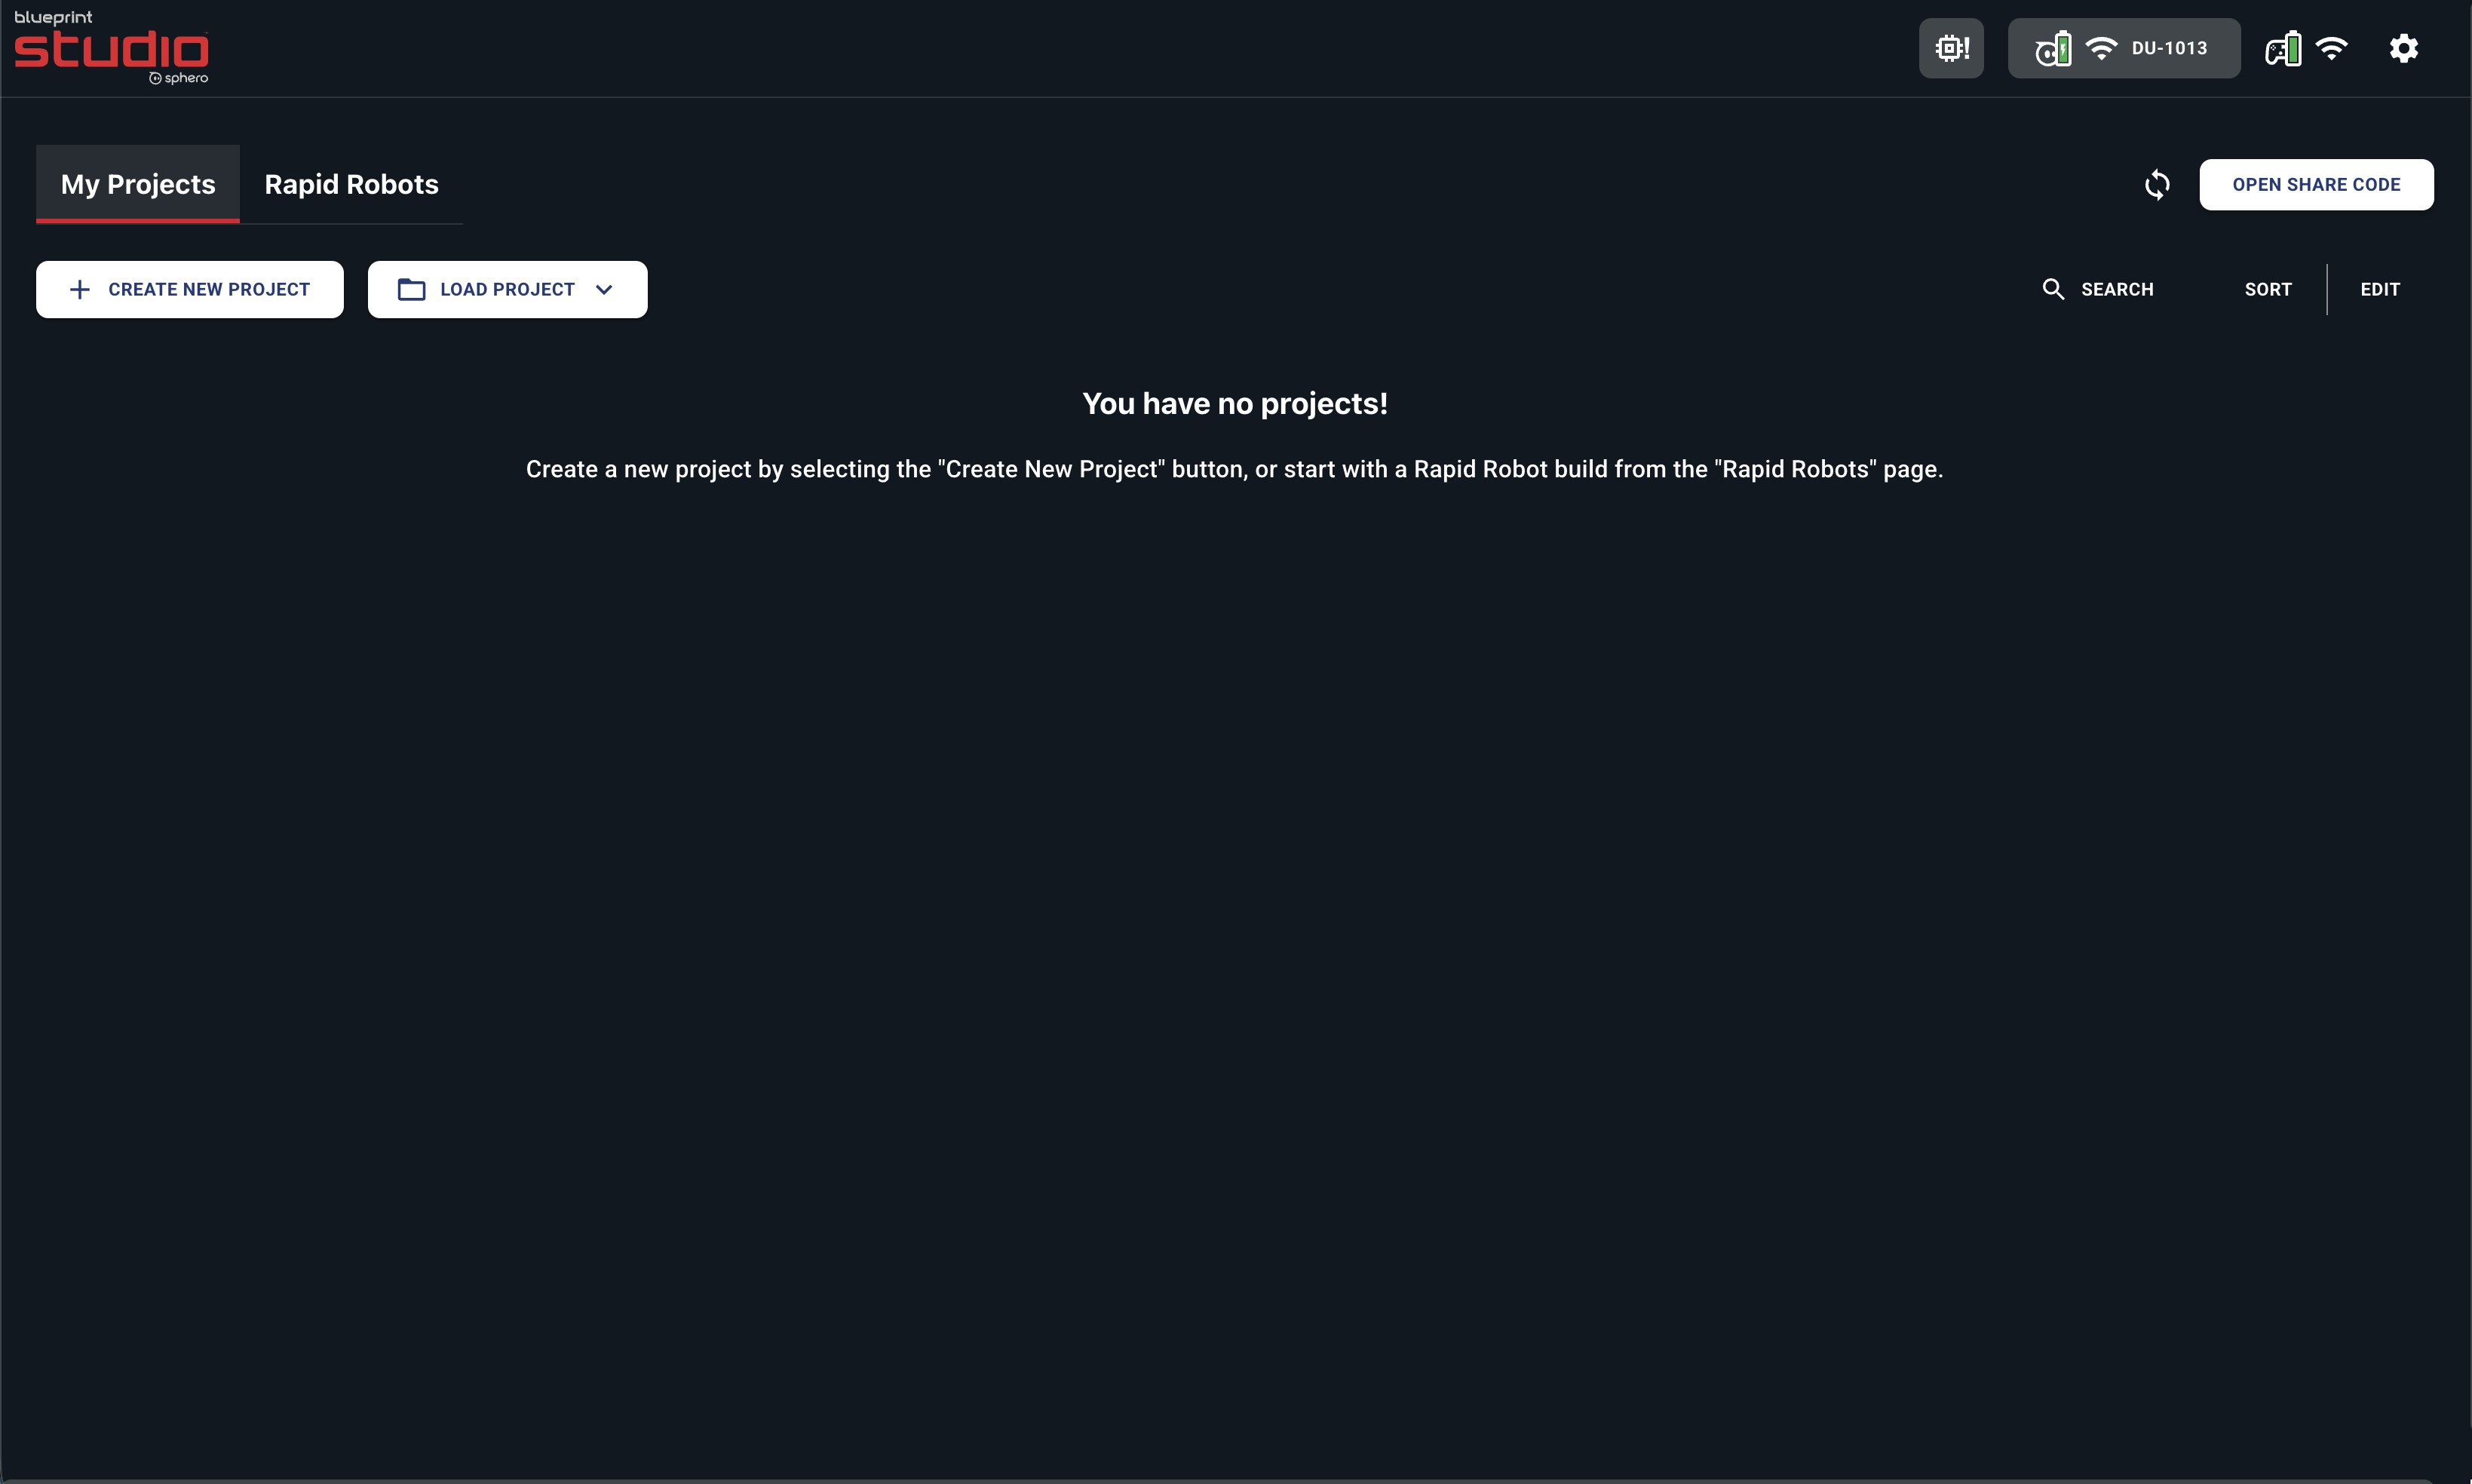
05 — Sphero Central
Resources where teachers already look
The Quick Start Guide sends teachers to sphero.cc/BPR for content and resources. I updated the Blueprint Robotics pages on Sphero Central — Sphero’s one-stop site for educators — so the hardware, the app and the curriculum meet in one place.
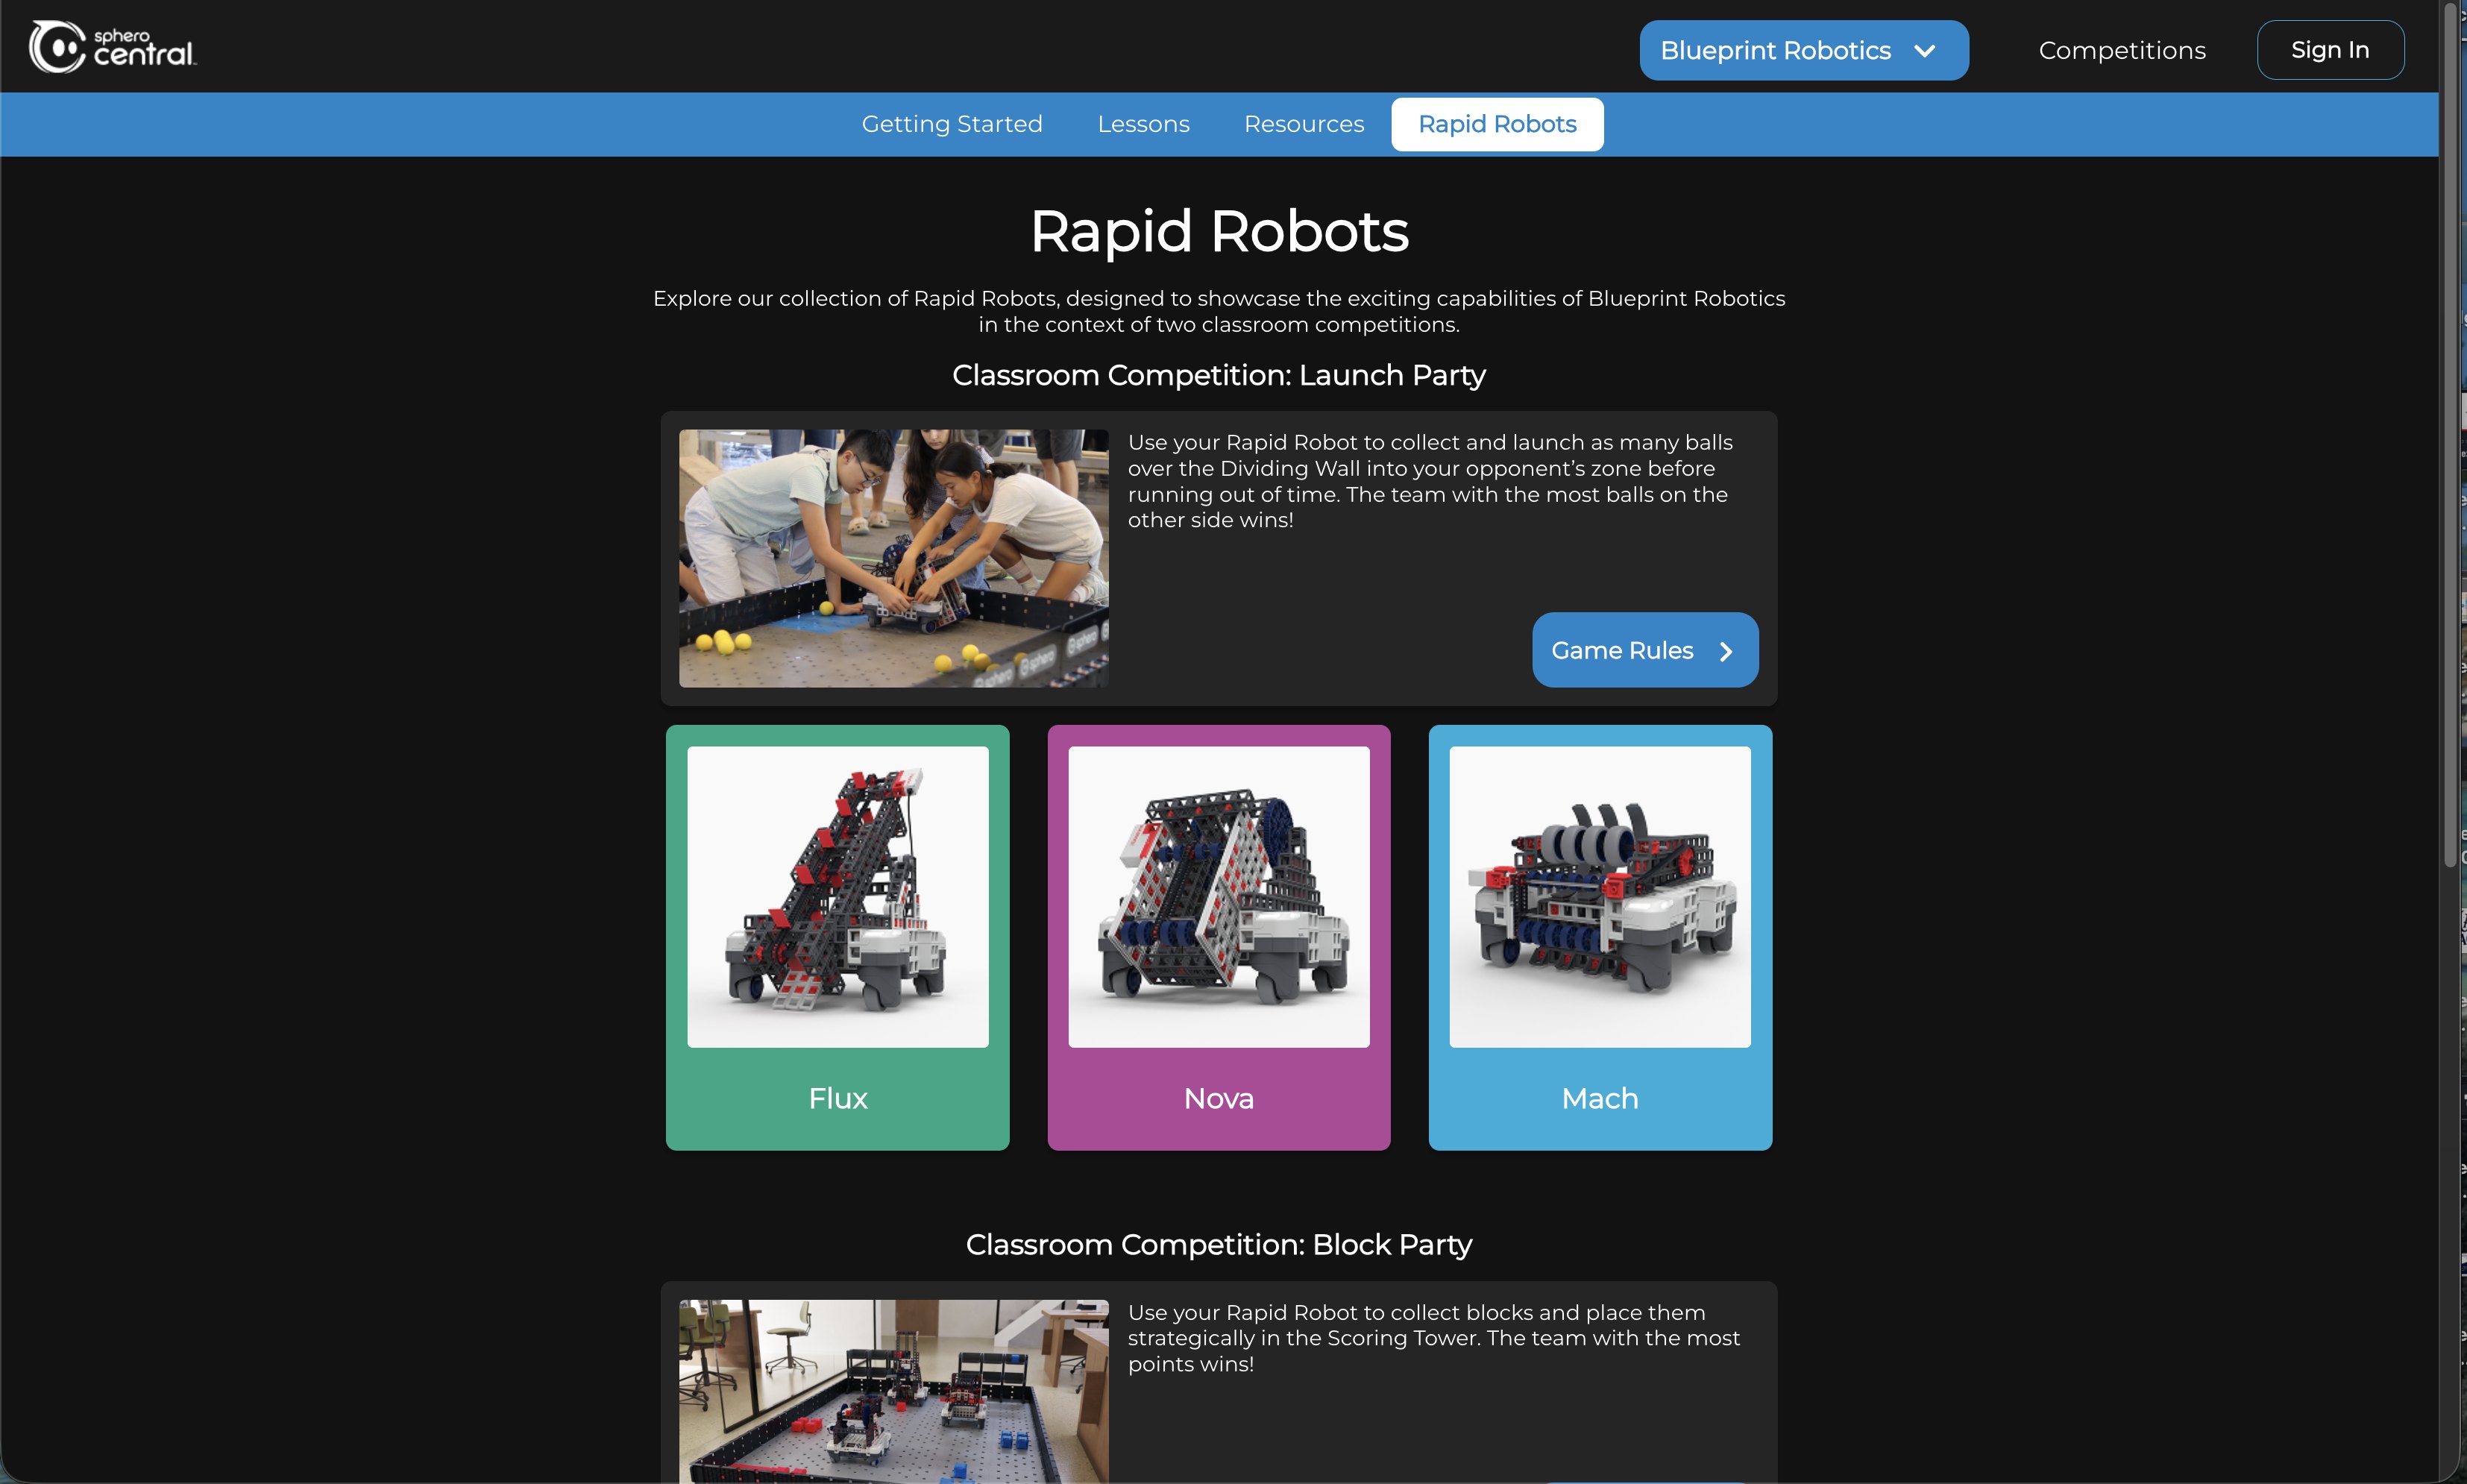
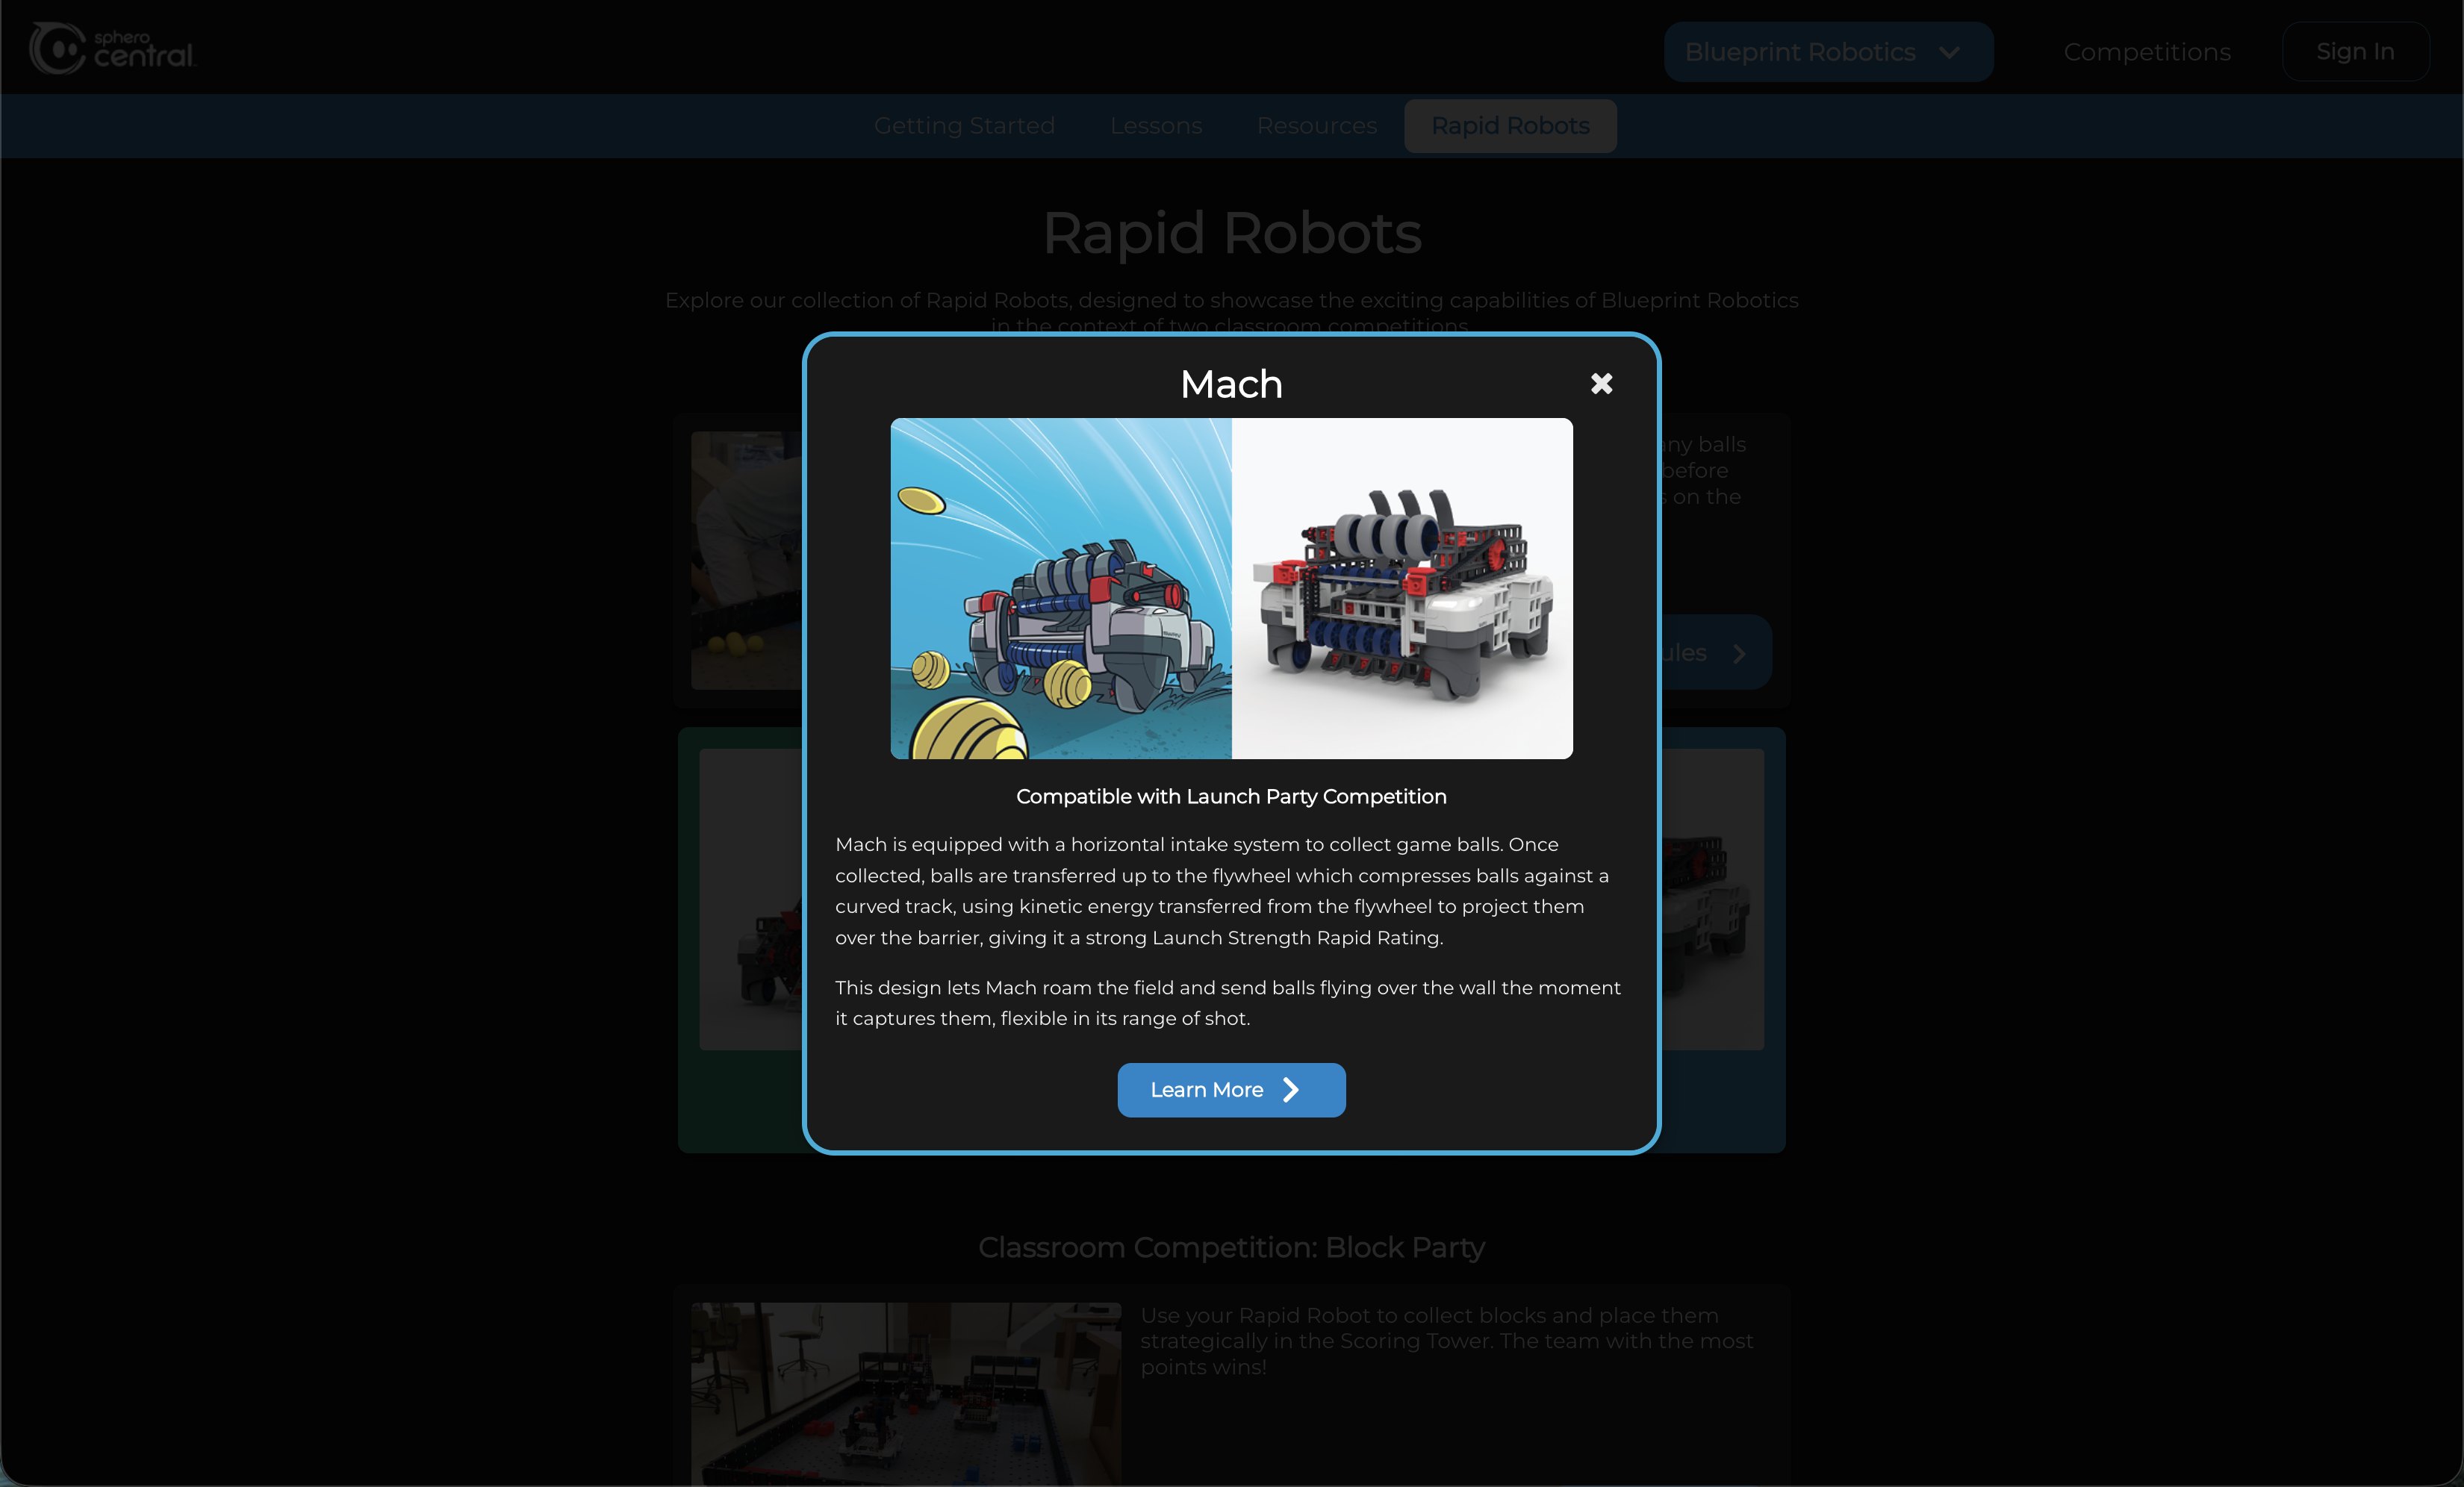
The pages bring together free, standards-aligned lessons with build instructions and student handouts, the six Rapid Robots builds, and the Launch Party and Block Party classroom games. I designed Blueprint’s place in that system: a featured banner on the home page, a product hub with Getting Started, Lessons, Resources and Rapid Robots tabs, and a Rapid Robots page where each build opens its own detail view.
Visit Blueprint on Sphero Central →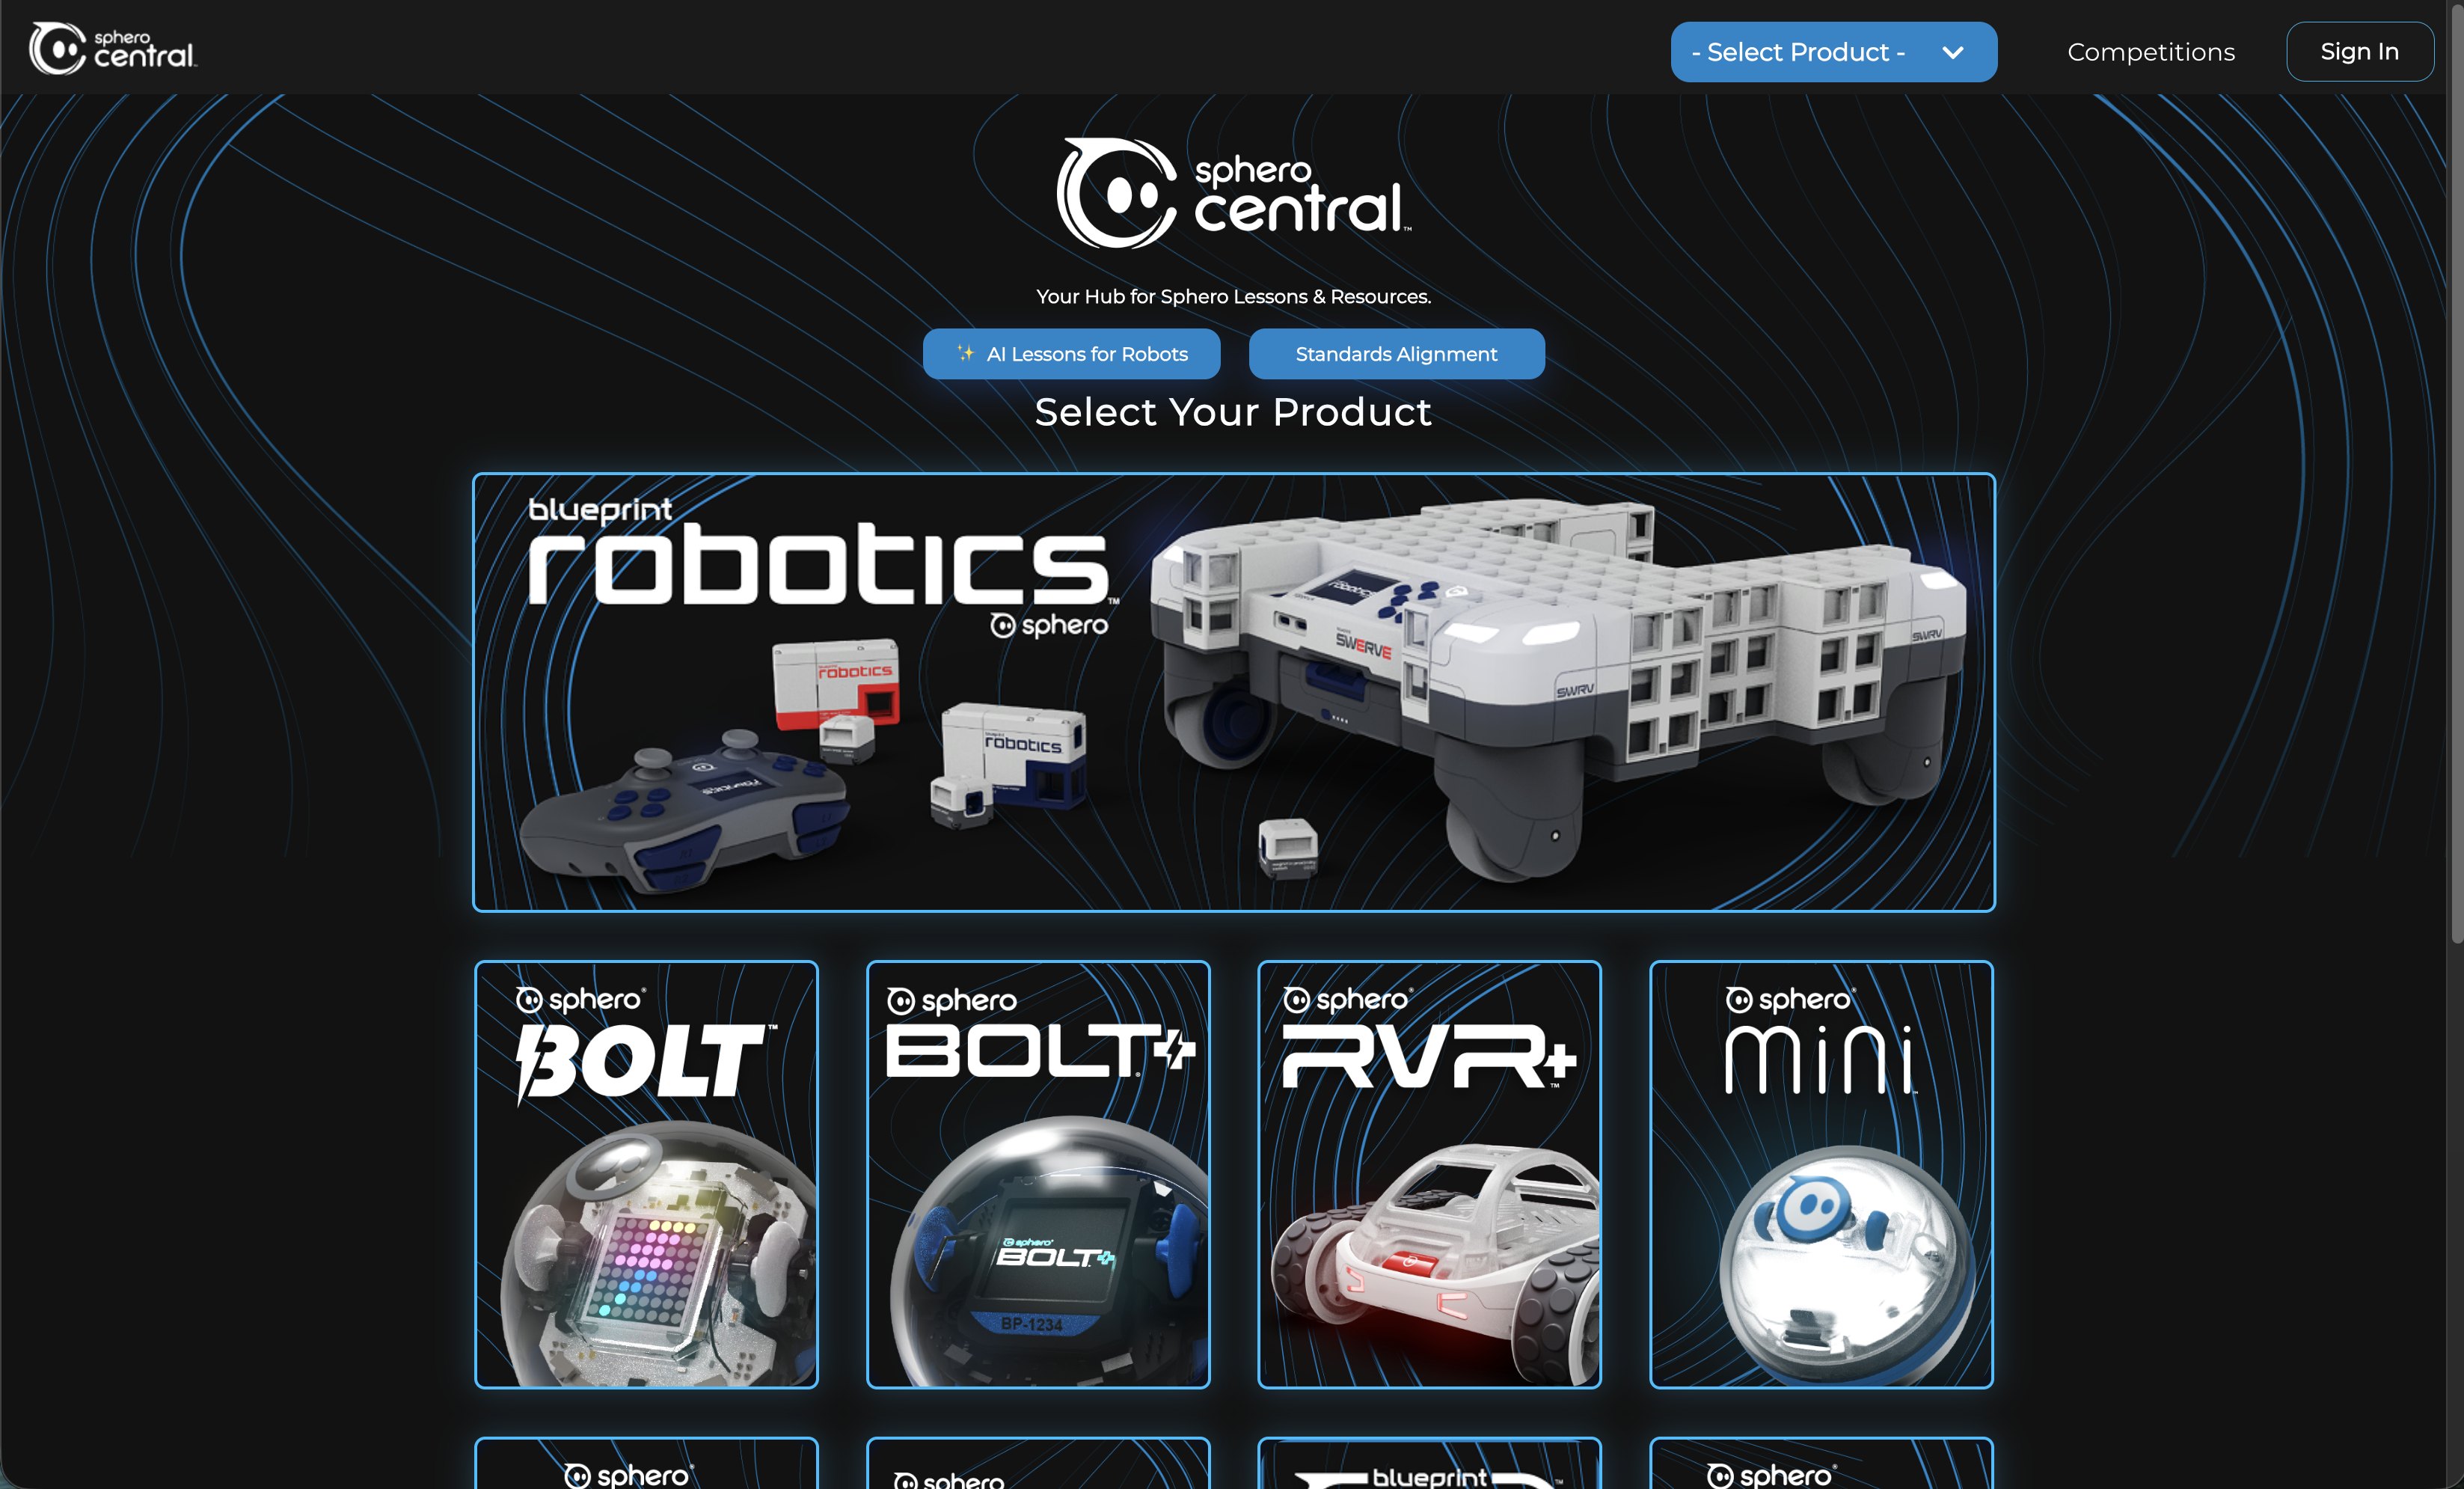
06 — Process
01
Discover
Kicked off with the product manager, firmware and mechanical engineering teams to learn the hardware: screen sizes, buttons and what the robot and controller could display.
02
Define
Mapped user flows for setup, connecting and drive modes, built a screen inventory and IA for every robot and controller screen, and set an icon and type system for the 320×240 and 160×128 displays.
03
Prototype
Built clickable Figma prototypes for Blueprint Studio and the screen menus, then loaded the UI onto real robot and controller screens to check legibility and fit.
04
Test
Ran internal playtests with the team and iterated on flows, icons and copy based on what we saw people do.
05
Deliver
Delivered pixel-ready assets and icon sheets for firmware, specs and design system components for the Studio front end, and design QA on firmware and web builds.
07 — Outcome
Launch
2026
Preorders opened April 2026, shipping summer 2026.
Surfaces
4
Robot screen, controller screen, web app and the printed Quick Start Guide.
Custom icons
109+
72+ for the robot screens and 37+ for Blueprint Studio.
What I learned
- 01
Designing with hardware means designing with constraints
Working with the firmware team on 320×240 and 160×128 screens changed how I design. Every icon, state and word had to earn its place, and testing on the real device mattered more than any mockup. Those limits made the UI clearer, not weaker.
- 02
Know when to reuse and when to invent
On Blueprint Studio, we built on the Sphero Edu web app and familiar code-editor patterns instead of starting over. That freed me to put my effort where Blueprint was truly new: the robot screens, the drive modes and the custom icons.